
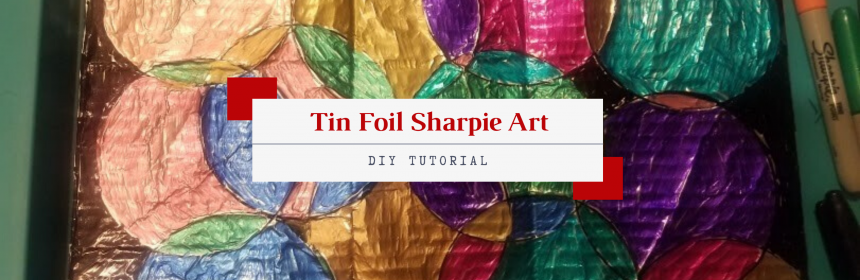
DIY Tutorial: Tin Foil Sharpie Art
Use supplies you have around your house to create something to decorate your space.
This DIY tutorial was created by Valerie Davis, our Newport Branch’s adult/teen services librarian. If you have any questions about the tutorial, please email her at VDavis@cc-pl.org.
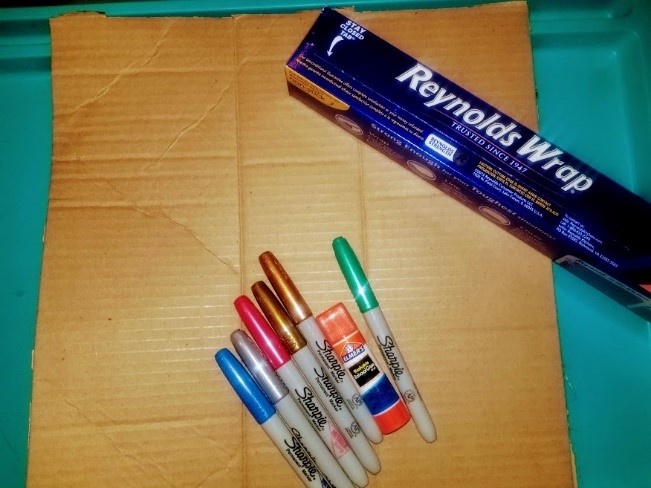
Materials Needed
- Cardboard
- Aluminum Foil
- Glue
- Sharpie markers
Step 1-2
See below for written instructions.
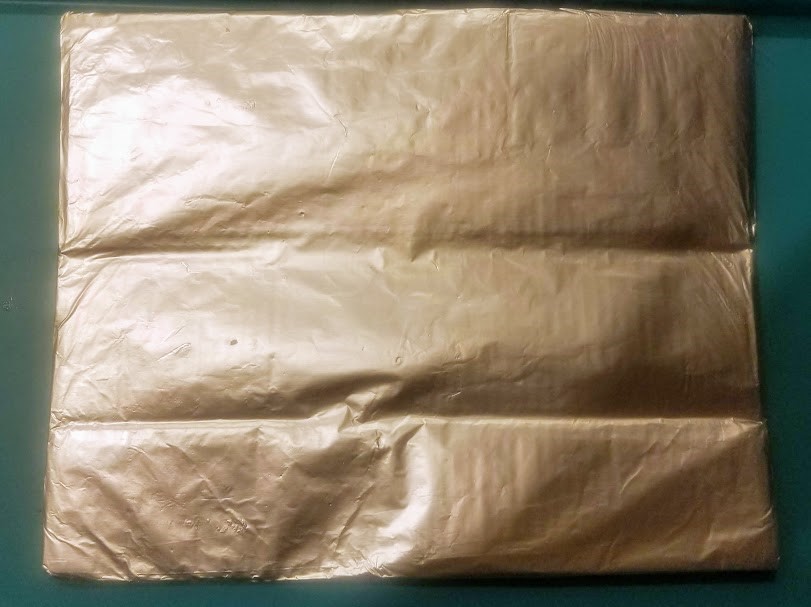
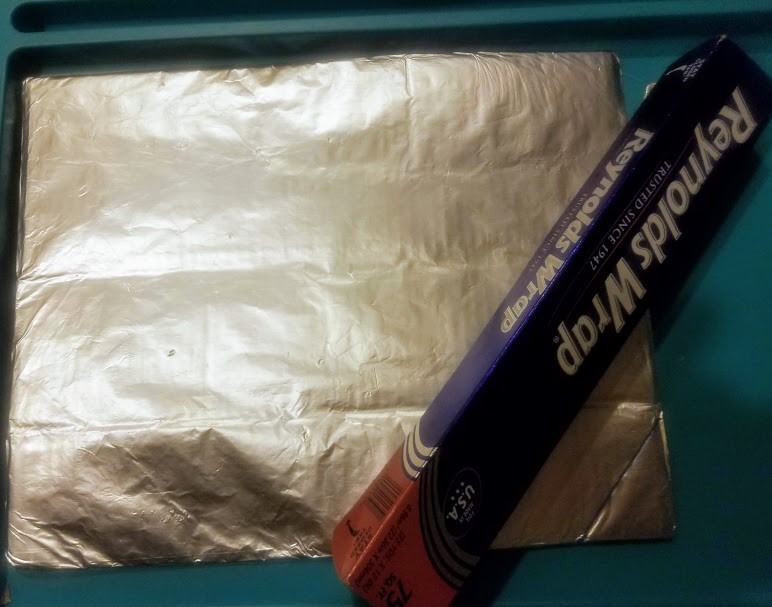
Step 1
Glue the tin foil to the cardboard. The tin foil needs to completely cover one side of the cardboard.

Step 2
Flip the cardboard over and make sure the tin foil is smooth.
Steps 3-4
See below for written instructions.
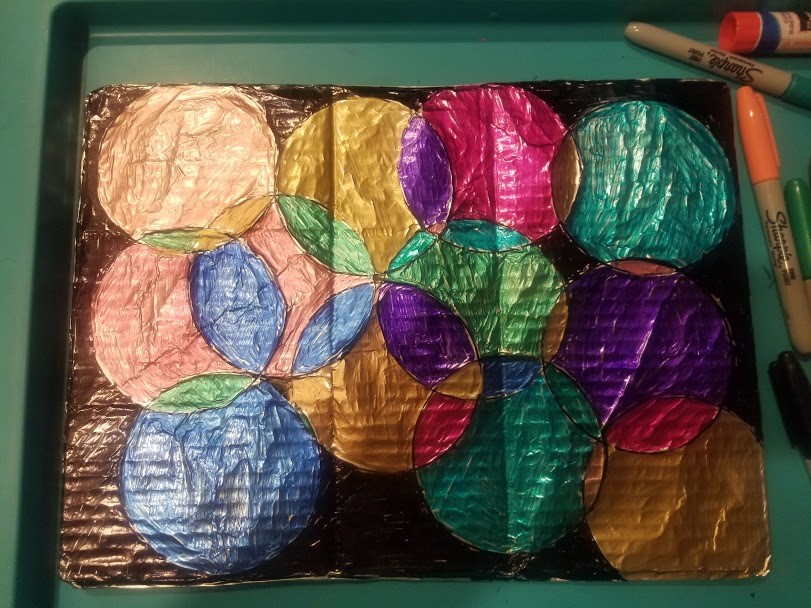
Step 3
Use a cup to draw circles.
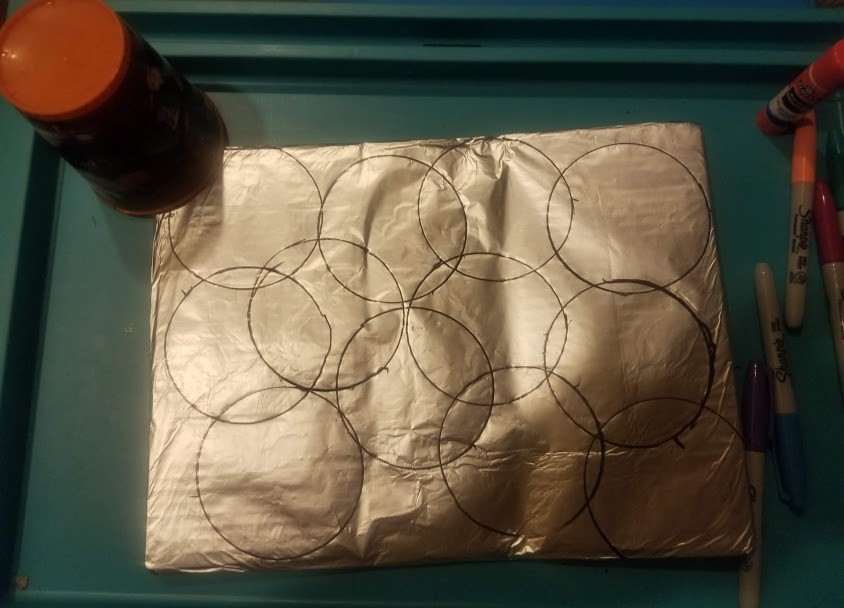
Step 4
Use your Sharpie markers to color in the circles.
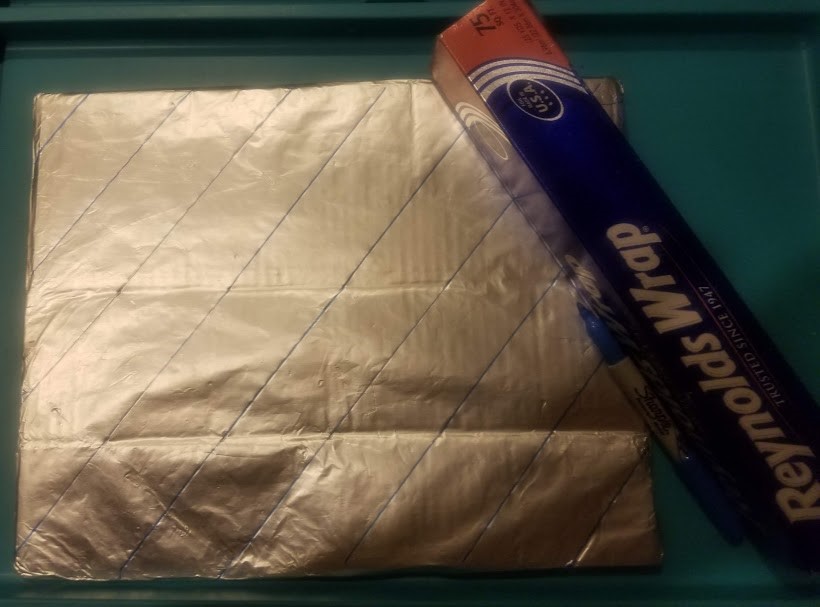
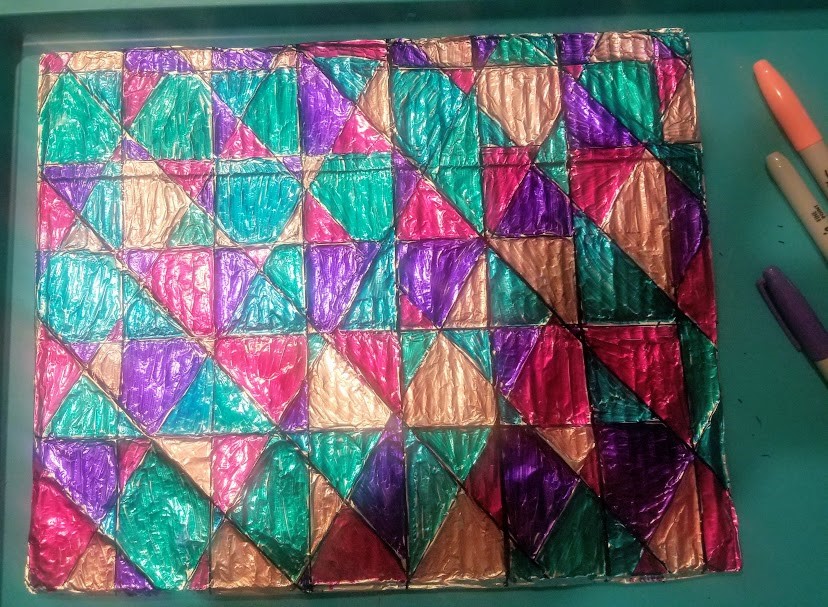
Another Design Option
Feel free to make any design you want on your tin foil! The diamond design below is another one that is easy to make.
Use the tin foil tube to draw lines.
Draw lines in the other direction to make diamonds.
Color in the diamonds and admire your work.
More News