
DIY Tutorial: Castle Shadow Art
Make your castle stand out against your own watercolor background!
The tutorial was created by Nina Frondorf, the children’s programmer at our Newport Branch. If you have any questions about the tutorial, please email her at Nfrondorf@cc-pl.org.
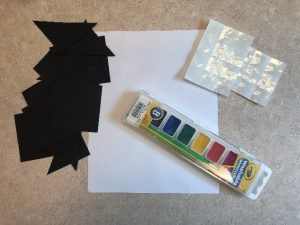
Supplies Needed
- Watercolors
- White watercolor paper
- Black construction paper shapes
- Glue dots or glue stick
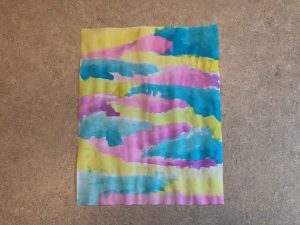
Step 1
Dip your paintbrush into a cup of water and use the wet brush and your watercolors to paint a beautiful background. Fill the entire page with color. Feel free to mix and match colors. Experiment with how much water you use on your brush and see how it changes the way your paint looks. Notice how some of the colors blend together? Have fun with it! Once your paint has filled the page, let the page dry completely.
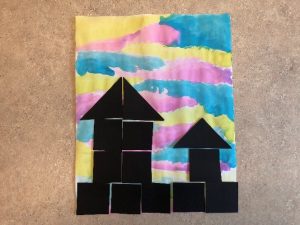
Step 2
Now that your painting is fully dry, we can add the shadow art. Using the black construction paper shapes you have, place them on your paper to arrange them into a castle shape. Think of using triangles to show the top of a tower or small squares to add interest to your picture. You can even arrange the shapes on the paper to see what design you like before gluing it down. Use glue dots or a glue stick to place the shapes onto your watercolor. You’re all finished!
More News