
DIY Tutorial: Nature Prints
Use things you have around your house and in your yard to create a unique image!
The tutorial was created by Morgan Lockard, the Adult/Teen programmer at our Carrico/ Fort Thomas Branch. If you have any questions about the tutorial, please email her at MLockard@cc-pl.org.
Supplies Needed
- Nature print paper
- Store in a cool, dark place. Do not expose to sunlight before use.
- Sunlight
- Objects from nature
- Something to hold paper in place
- Water
- Container for water
Want to recreate without a Take & Make kit? Nature print paper can be found from the following online retailers:
- Amazon
- Blick Art Materials
- Walmart
- Oriental Trading
Step 1
Find nature objects that you would like to have on your print. These objects will need to be relatively flat. For better results, try pressing your flowers and other 3D objects before beginning. You can also try incorporating household objects like lace, string and cut out paper shapes.
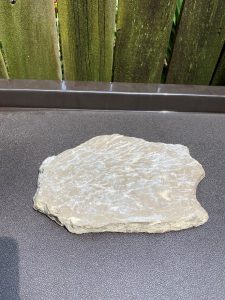
Step 2
Select a sunny and dry place to layout your print. You can use a flat surface under your paper to keep everything flat and dry. Locate items like rocks and paperweights to keep your objects in place. Tape is not suggested as it can harm the paper.
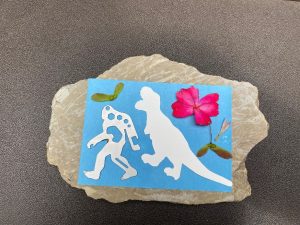
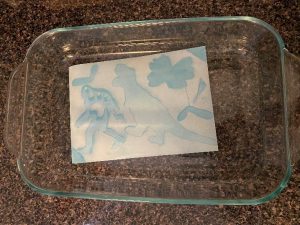
Step 3
Once your paper is secured, begin placing your objects on the print. Do this quickly as sunlight exposure begins fast. You can also use plastic wrap or glass to hold objects on the print if it is a windy day.
Step 4
Expose to the sun until the paper turns a very light blue. This will only take about 2 minutes. Do not go longer than this as it may cause the print to be overexposed.
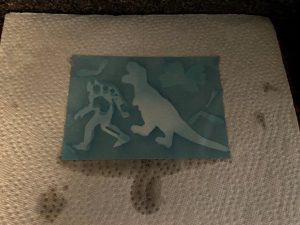
Step 5
Remove from the sun and keep out of the light. Place flat in a container of water for 1 minute.
Step 6
Remove from water and continue to keep out of the light. Find a dry, flat surface to leave the print on until it dries.
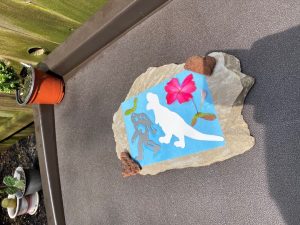
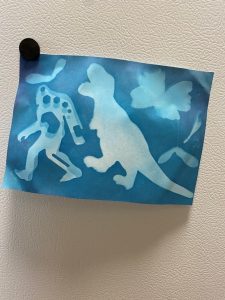
Step 7
Let dry completely. Enjoy your fun and unique image!
More News