
DIY Tutorial: Clay Flower Rings
Create a one-of-a-kind jewelry piece to show off your style.
The tutorial was created by Valerie Davis, the adult/teen services librarian at our Newport Branch. If you have any questions about the tutorial, please email her at Vdavis@cc-pl.org.
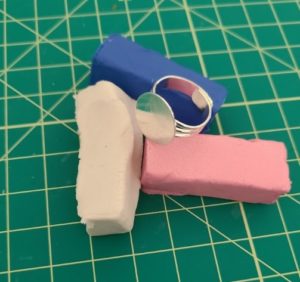
Supplies Needed
- Polymer clay
- Ring form
- Glue (Can be hot glue, cement glue or super glue)
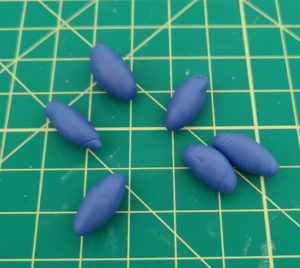
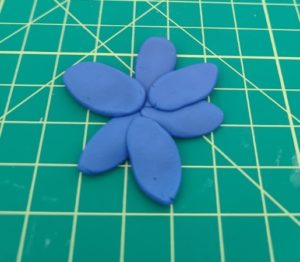
Step 1
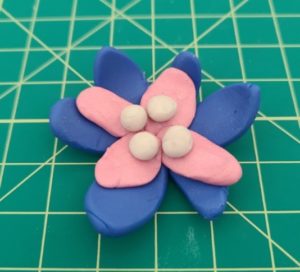
First, decide which color you want to be the large back petals and roll six cylinders.
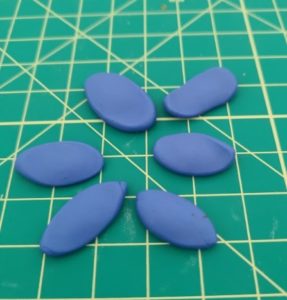
Step 2
Flatten out the cylinders into petal shapes and arrange them into a circle to start forming your flower.
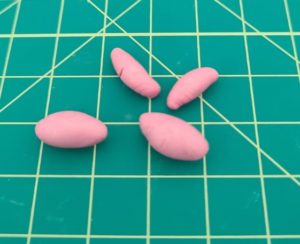
Step 3
Pick your next color for the smaller petals and create four more rounded cylinders. Flatten them into your petal shape.
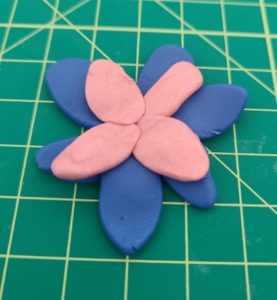
Step 4
Arrange all of your petals together to make your desired flower shape.
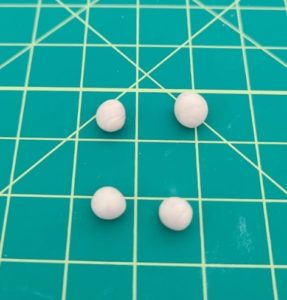
Step 5
Create four tiny balls to be the center of your flower. Add them to the top and curve your petals up to create the flower shape.
You can add more style to your piece by adding details with a small paint brush or sharpie to create veins in the petals.
Step 6
Once you are happy with your creation, bake your clay at 275 degrees for 20 minutes and allow to cool.
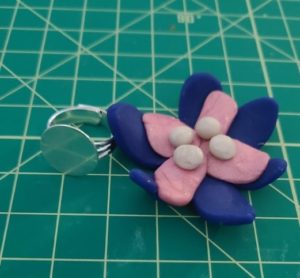
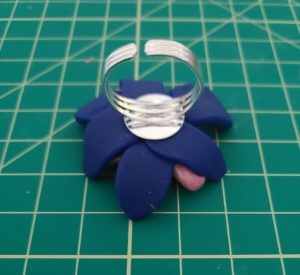
Step 7
Attach your ring shape to the back of your flower using glue.
Step 8
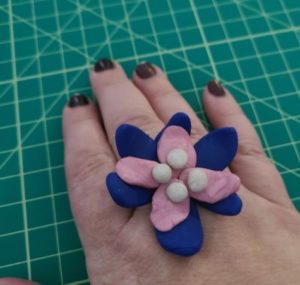
Enjoy your new one-of-a-kind piece of jewelry!
More News