
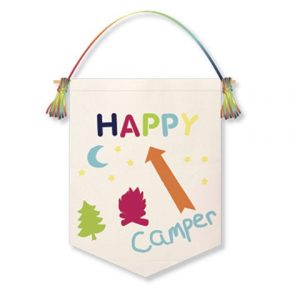
DIY Tutorial: Banners for Teens

Create a decorative banner, designed to your own style!
The tutorial was created by Sam Rouse, the Adult/Teen Services Programmer at our Carrico/Fort Thomas Branch. If you have any questions about the tutorial, please email her at SRouse@cc-pl.org.
Supplies Needed
- Banner
- Wooden dowel rod
- Paint
- Sponge brush
- Stencils
- Paint brush
- Scissors
- String
Step 1
Using the stencils, paint and brushes, decorate your banner and allow the fabric to dry. Note to decorate the front of the banner, the back will have sewn edges. The stencils can be peeled and attached directly to the banner so they do not move while painting.
Step 2
Once you are finished decorating the fabric, slide your dowel rod through the pocket at the top of the banner.
Step 3
Use the 18-inch piece of string and knot the string to the dowel rod on either side of the banner.
Step 4
Tie the tassel pieces to each end of the dowel rod, then cut the loops open on the long side of the tassel (the side that will be facing downwards). Repeat this step with the second tassel.
Tips
- You can cut any excess string hanging from the tassels to give a more finished look.
- Make sure your banner is completely dry before attaching to the dowel rod to not to cause wrinkles in your paint.
More News