
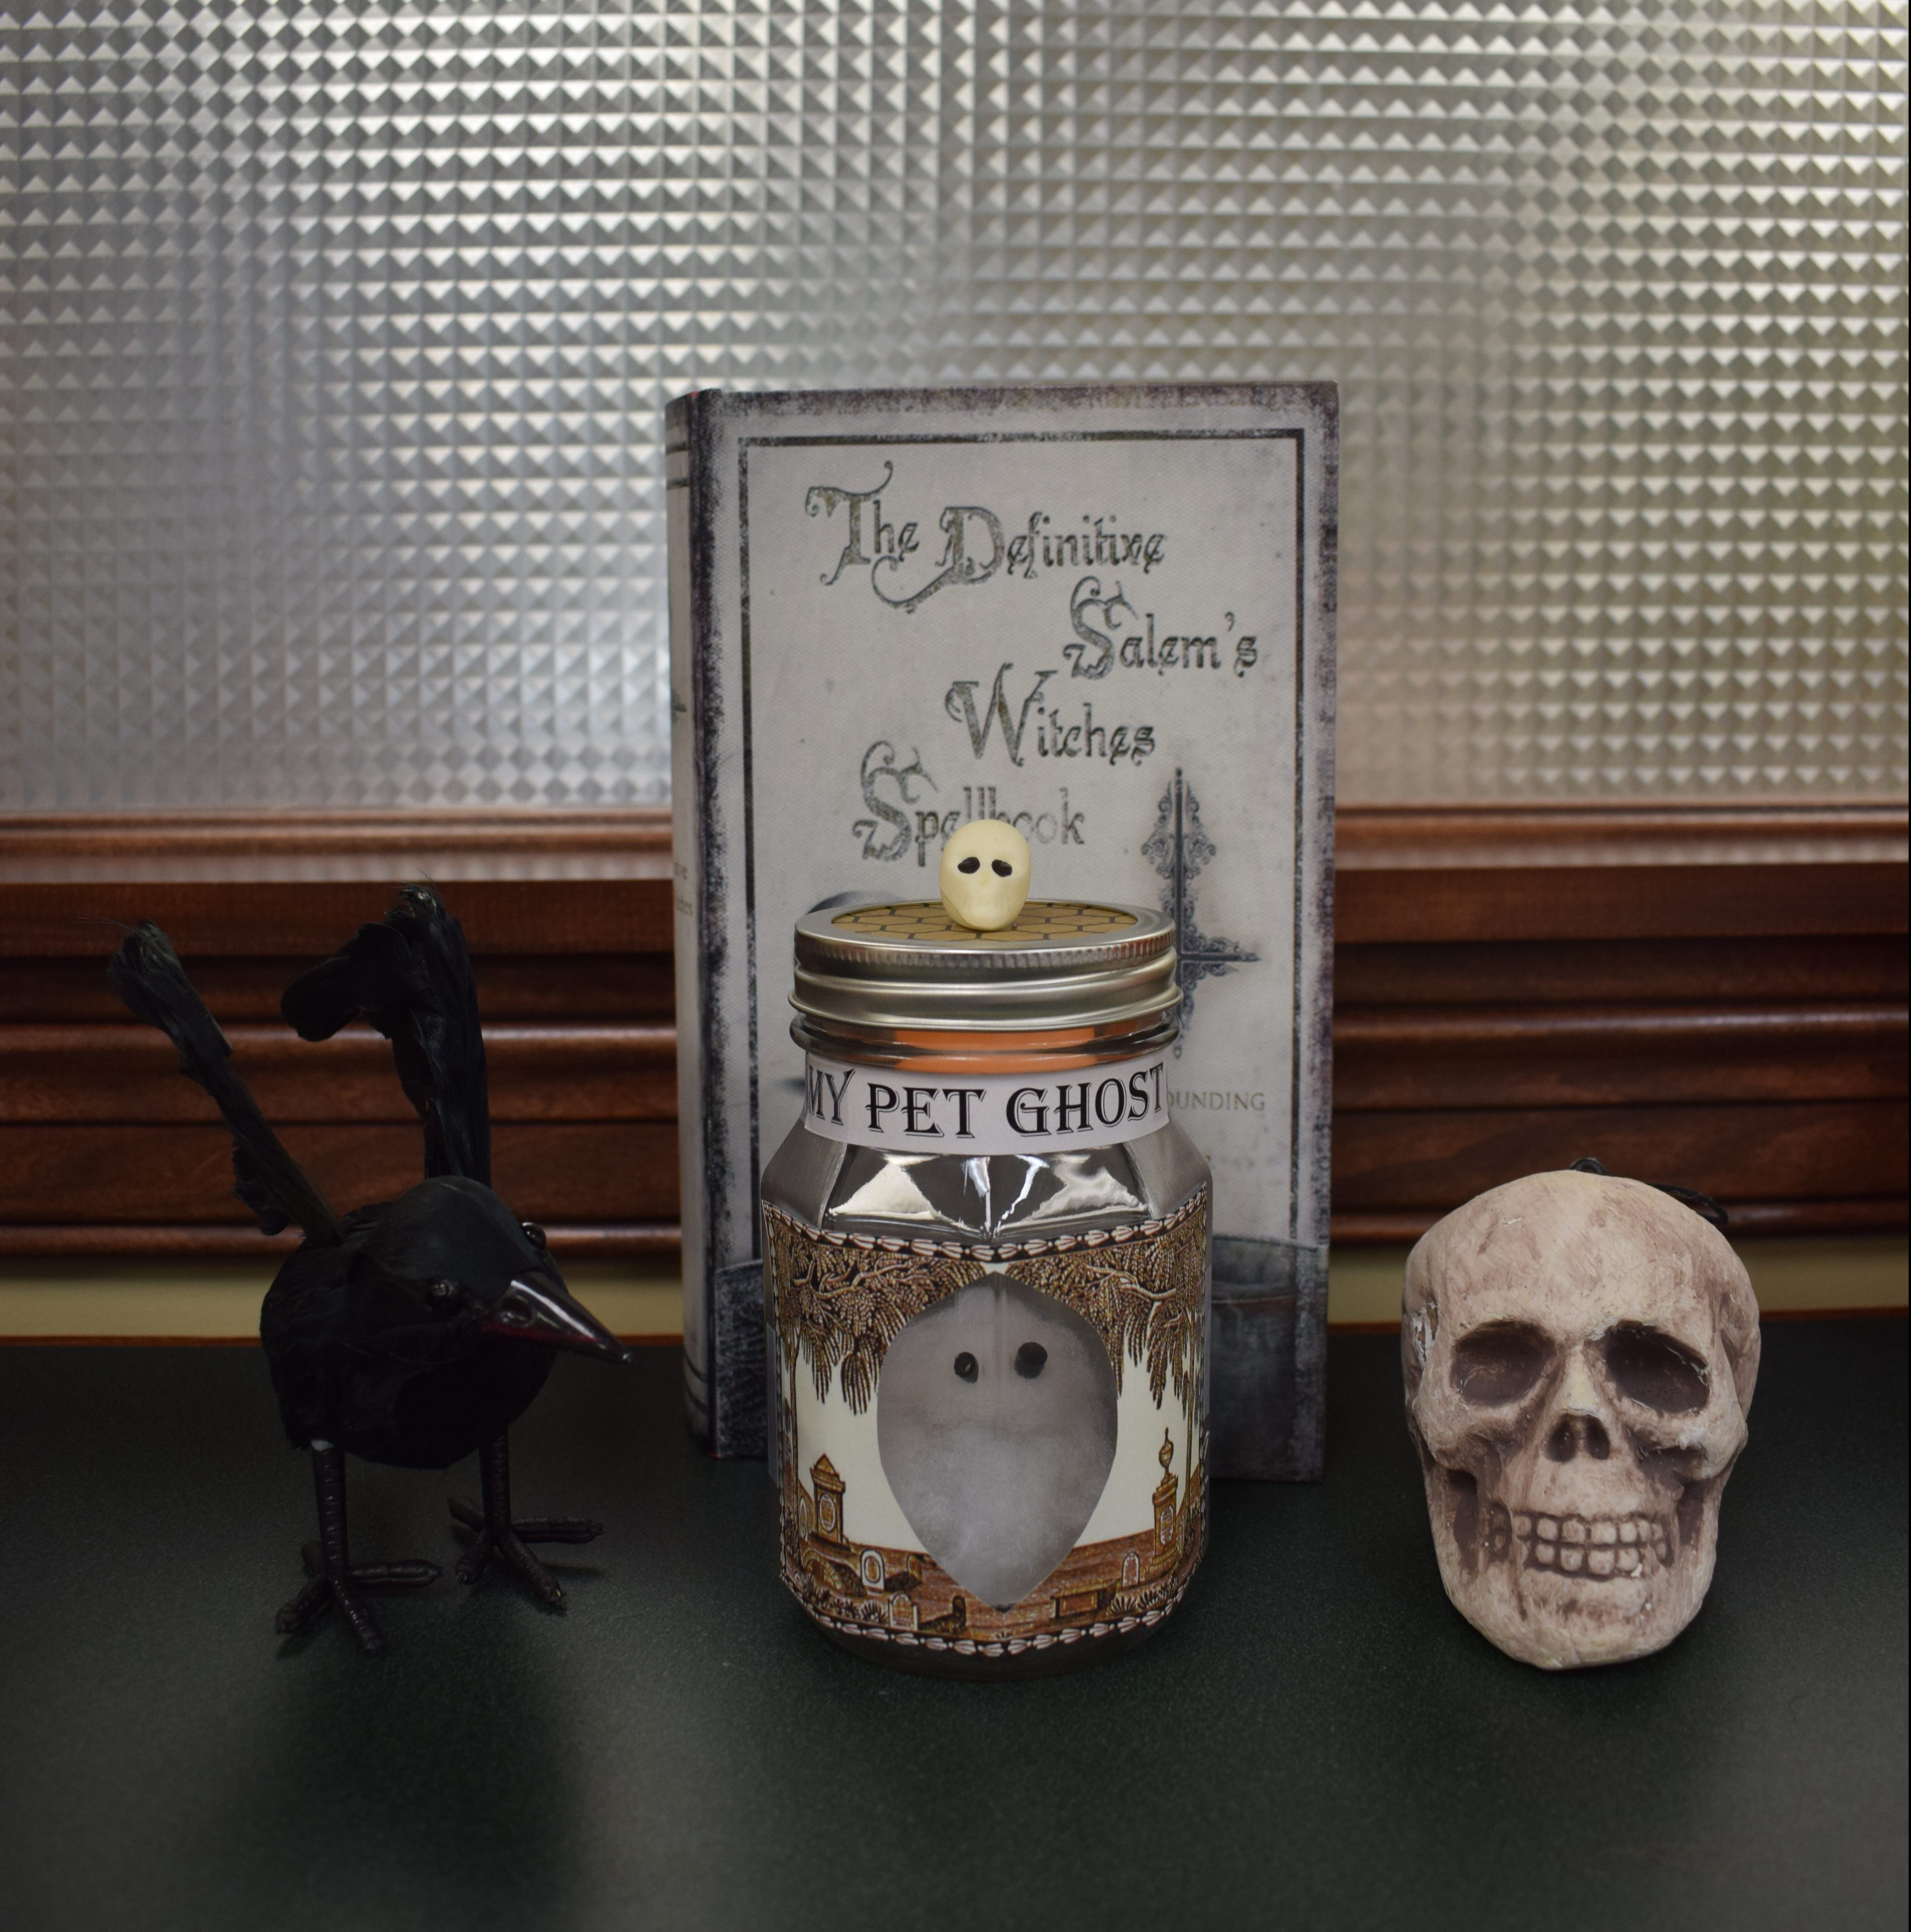
DIY Pet Ghost
Celebrate the spookiest month of the year by making your own pet ghost.
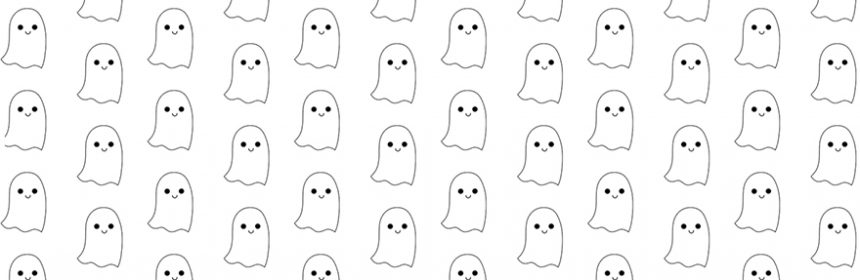
Supplies
- Large clear jar
- Fiberfill
- Wire
- Paper
- Cardstock (for bottom of jar and flameless candle stand)
- Metallic paint
- Paintbrush
- Tacky glue
- Two black beads
- Tape
- LED flameless tealight candle
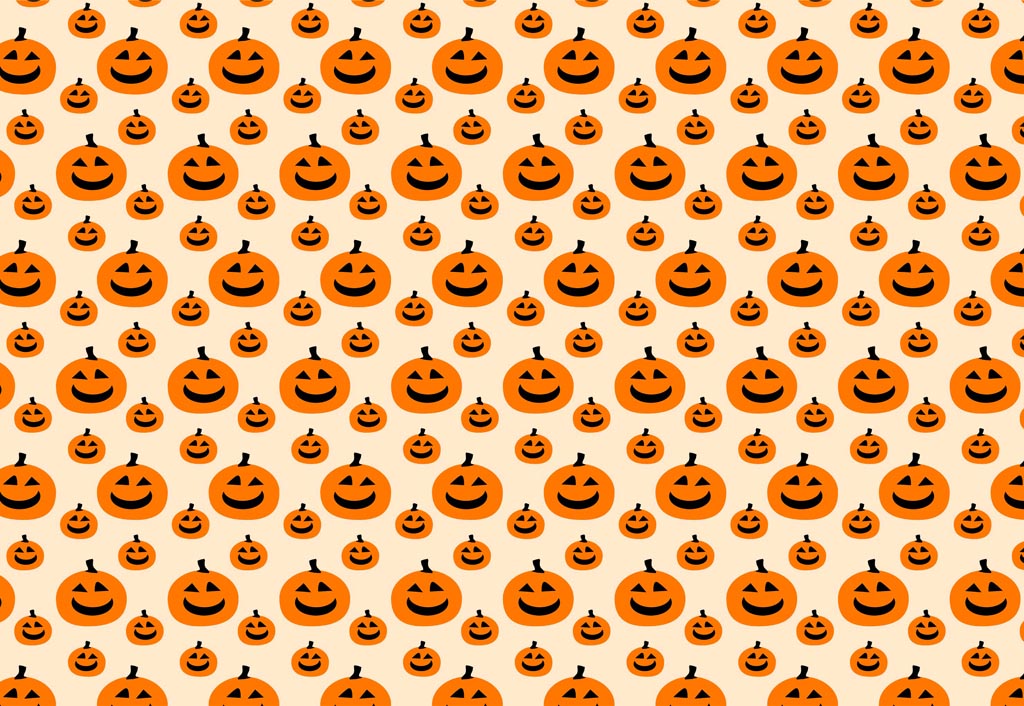
- Design for the front of jar
- Design for the top of the jar
- Label
- Optional:
- A small decoration for the top of the jar. We used a skull.
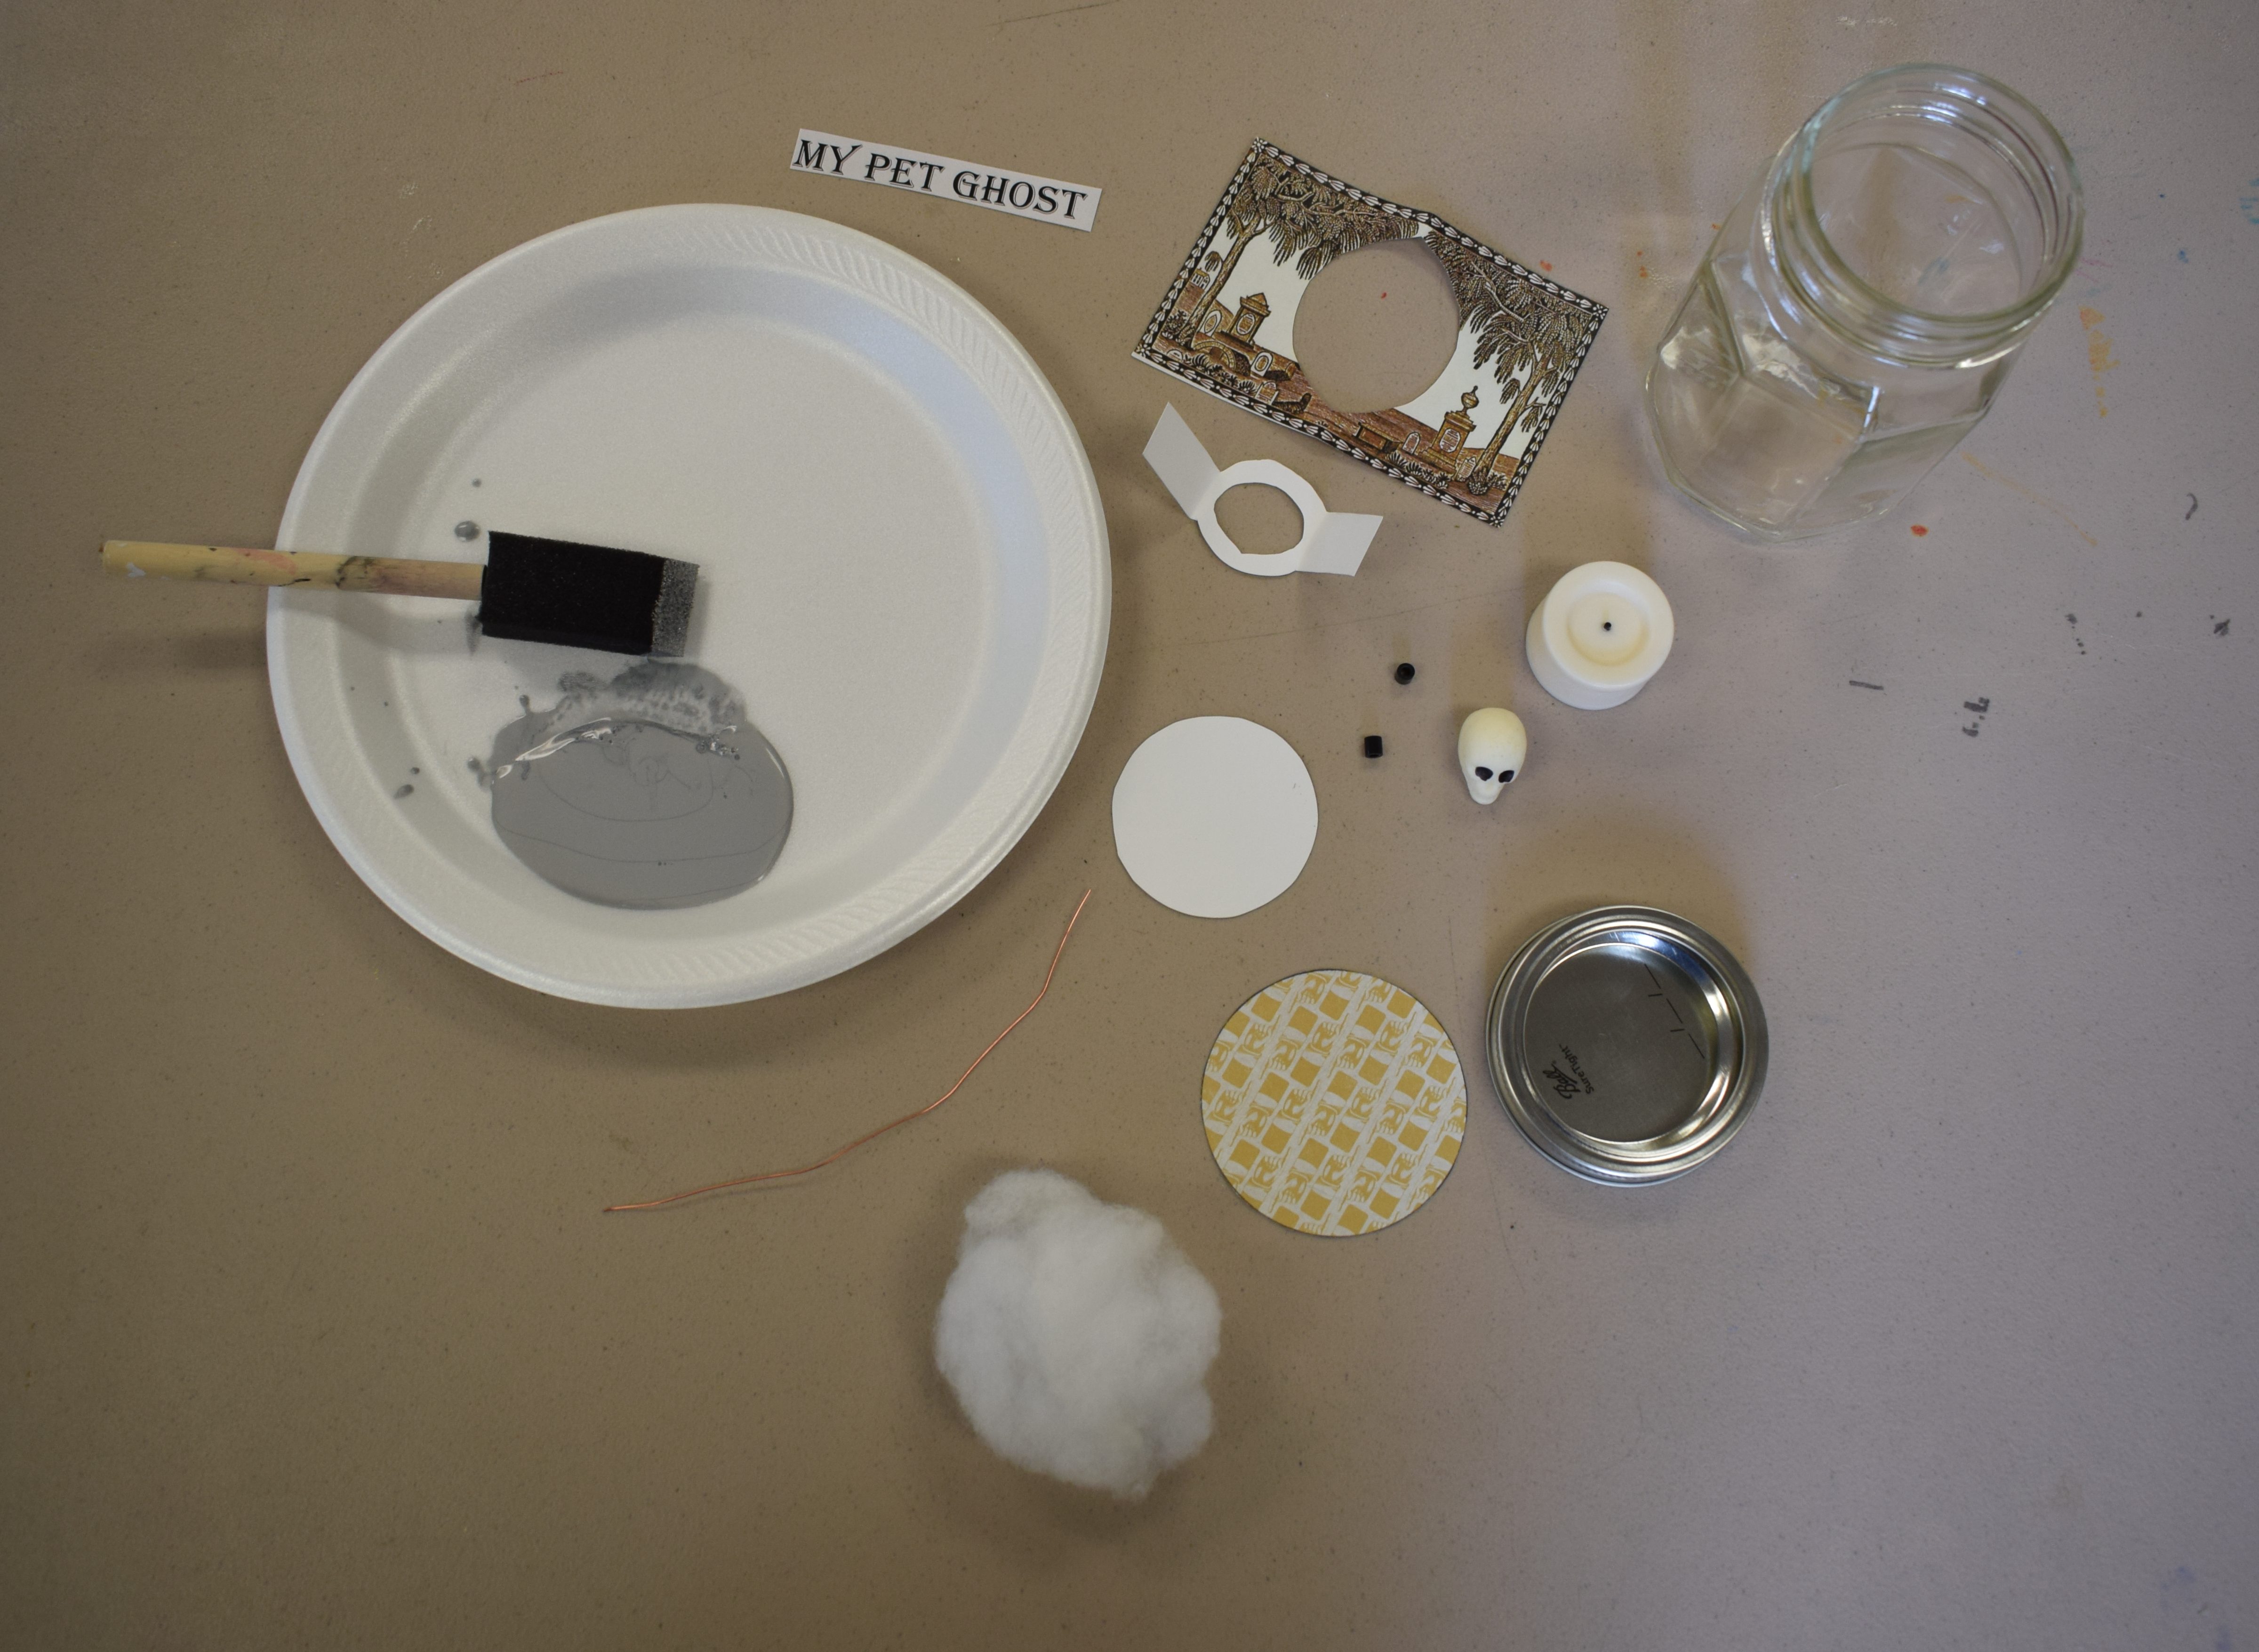
Step 1
- Paint the top, bottom and sides of the jar with the metallic paint. Be sure to leave a space large enough for your pet ghost to be seen. It will take 2-3 coats of paint.
Step 2
- With the card stock, cut out a circle that will fit in the bottom of the jar.
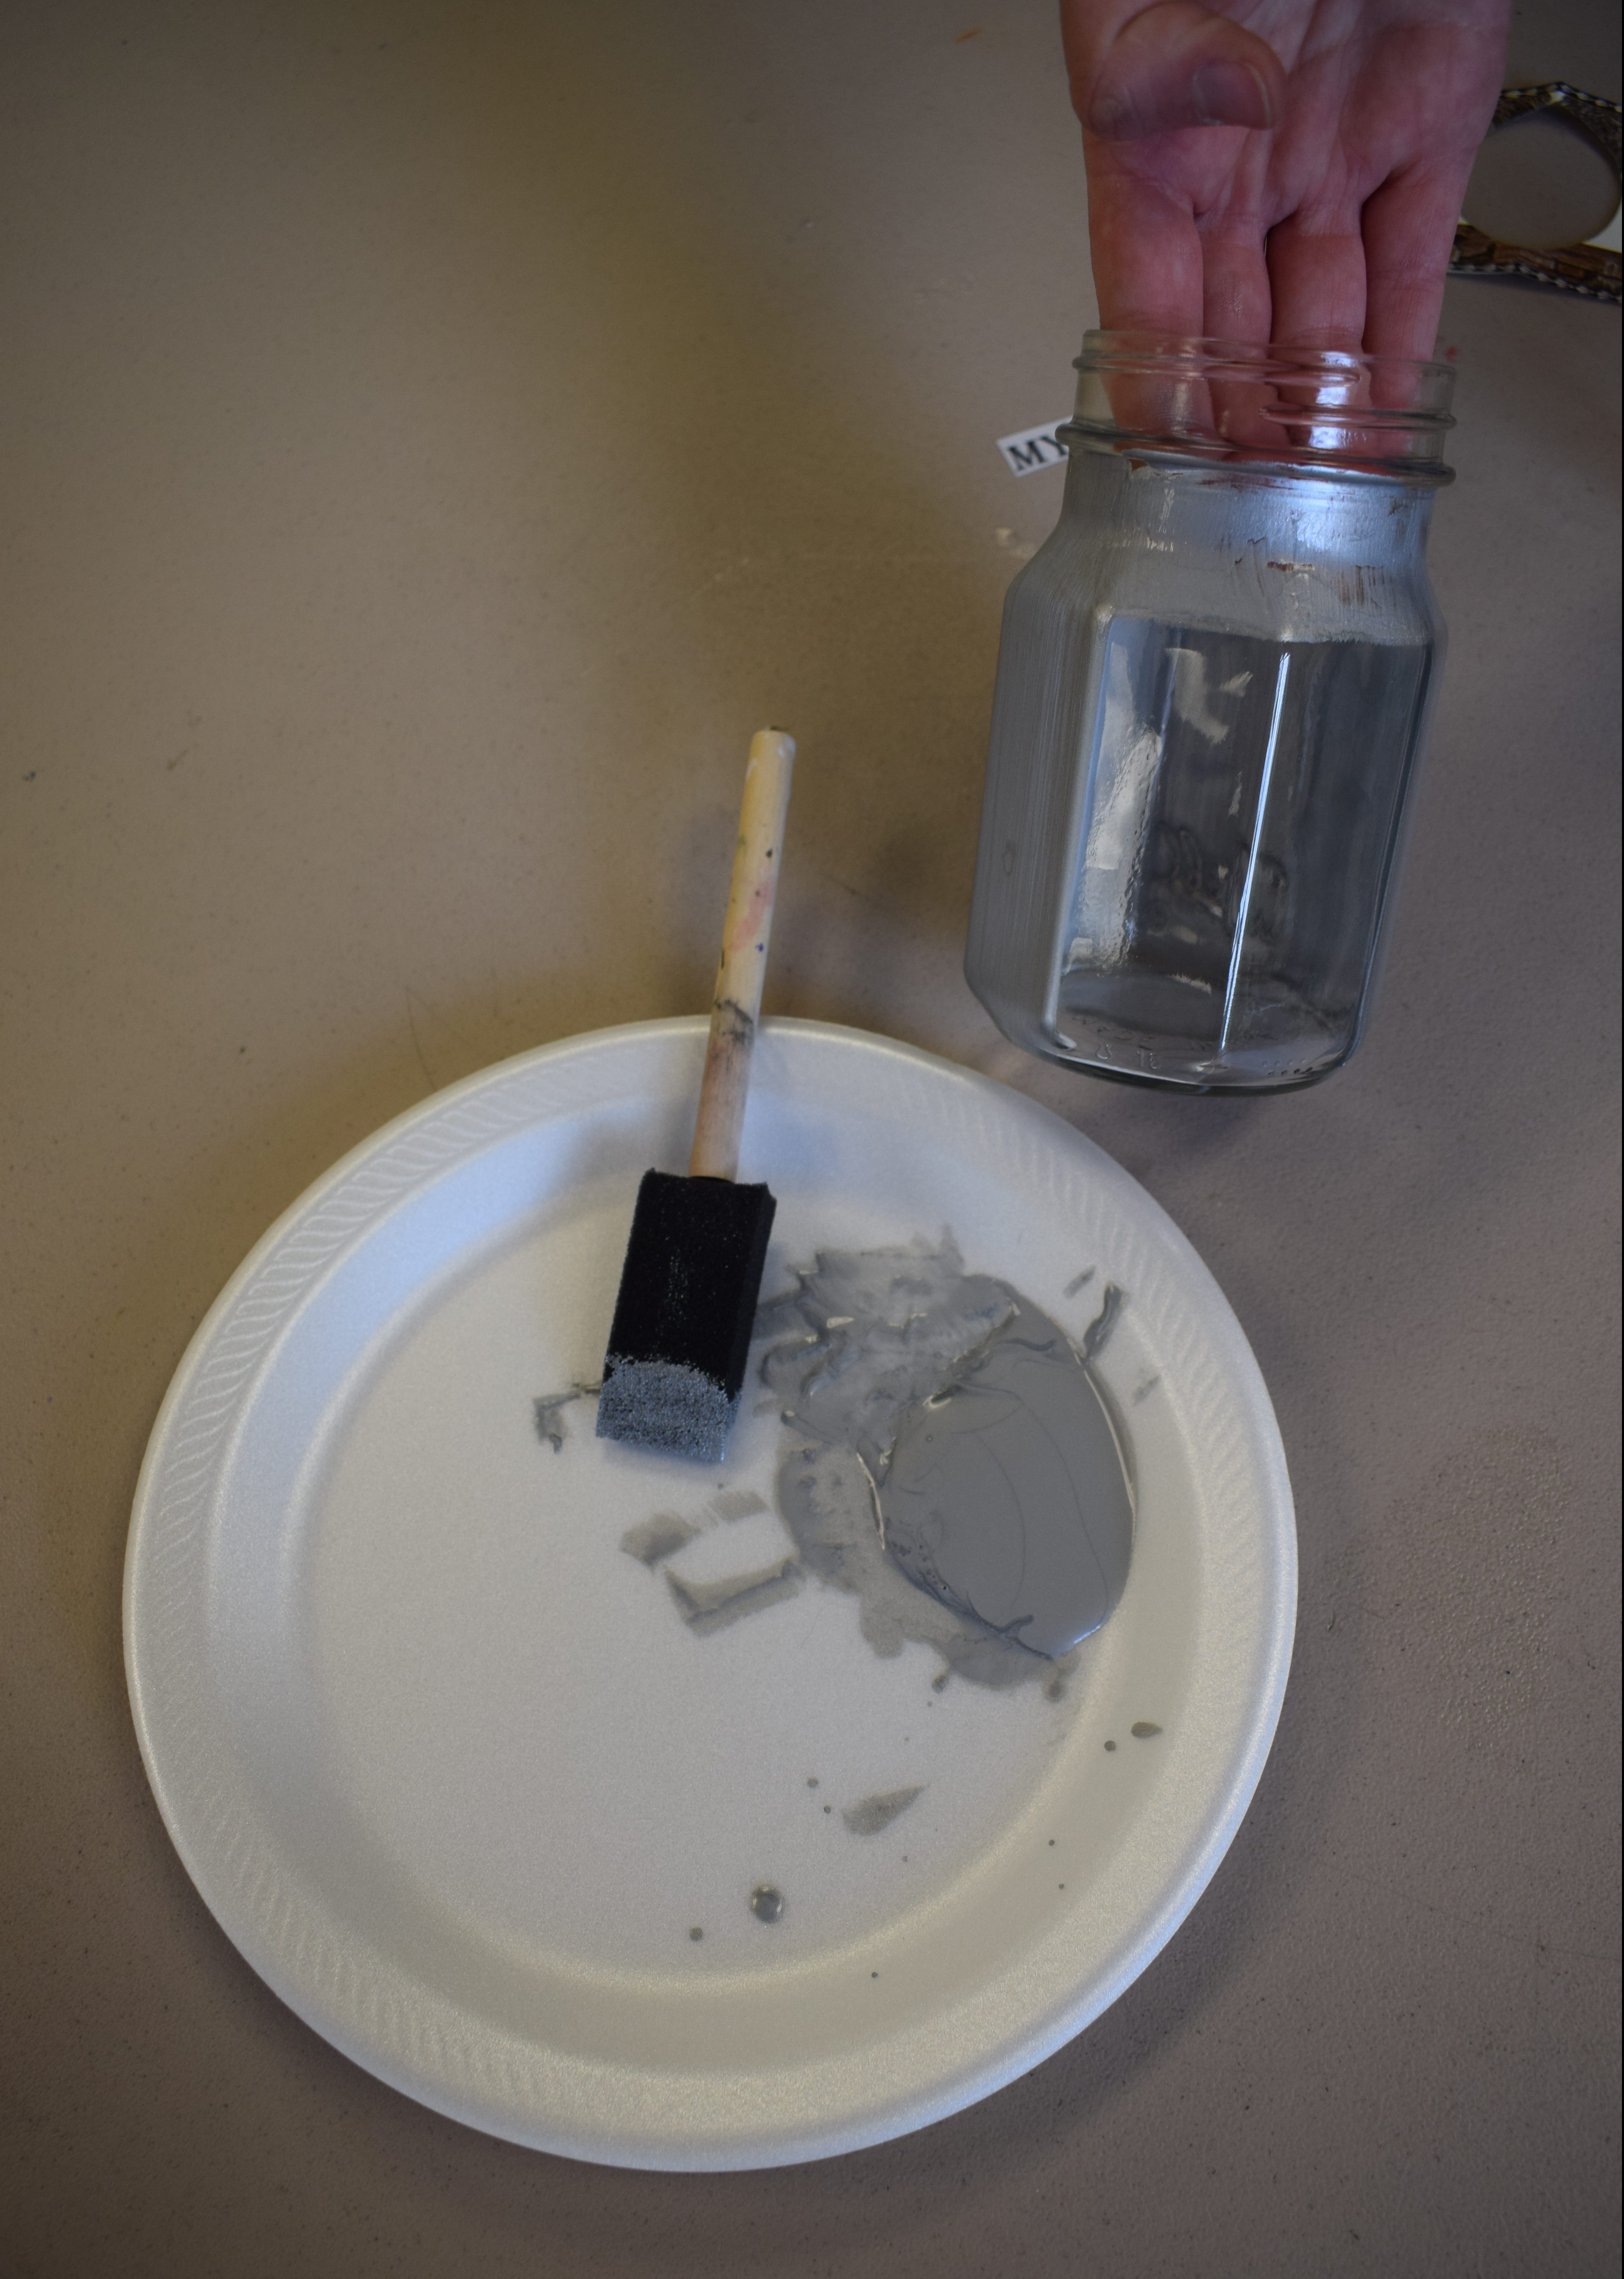
Step 3
- Take the wire and shape it into an oval. Attach the oval to your card stock with tape.

Step 4
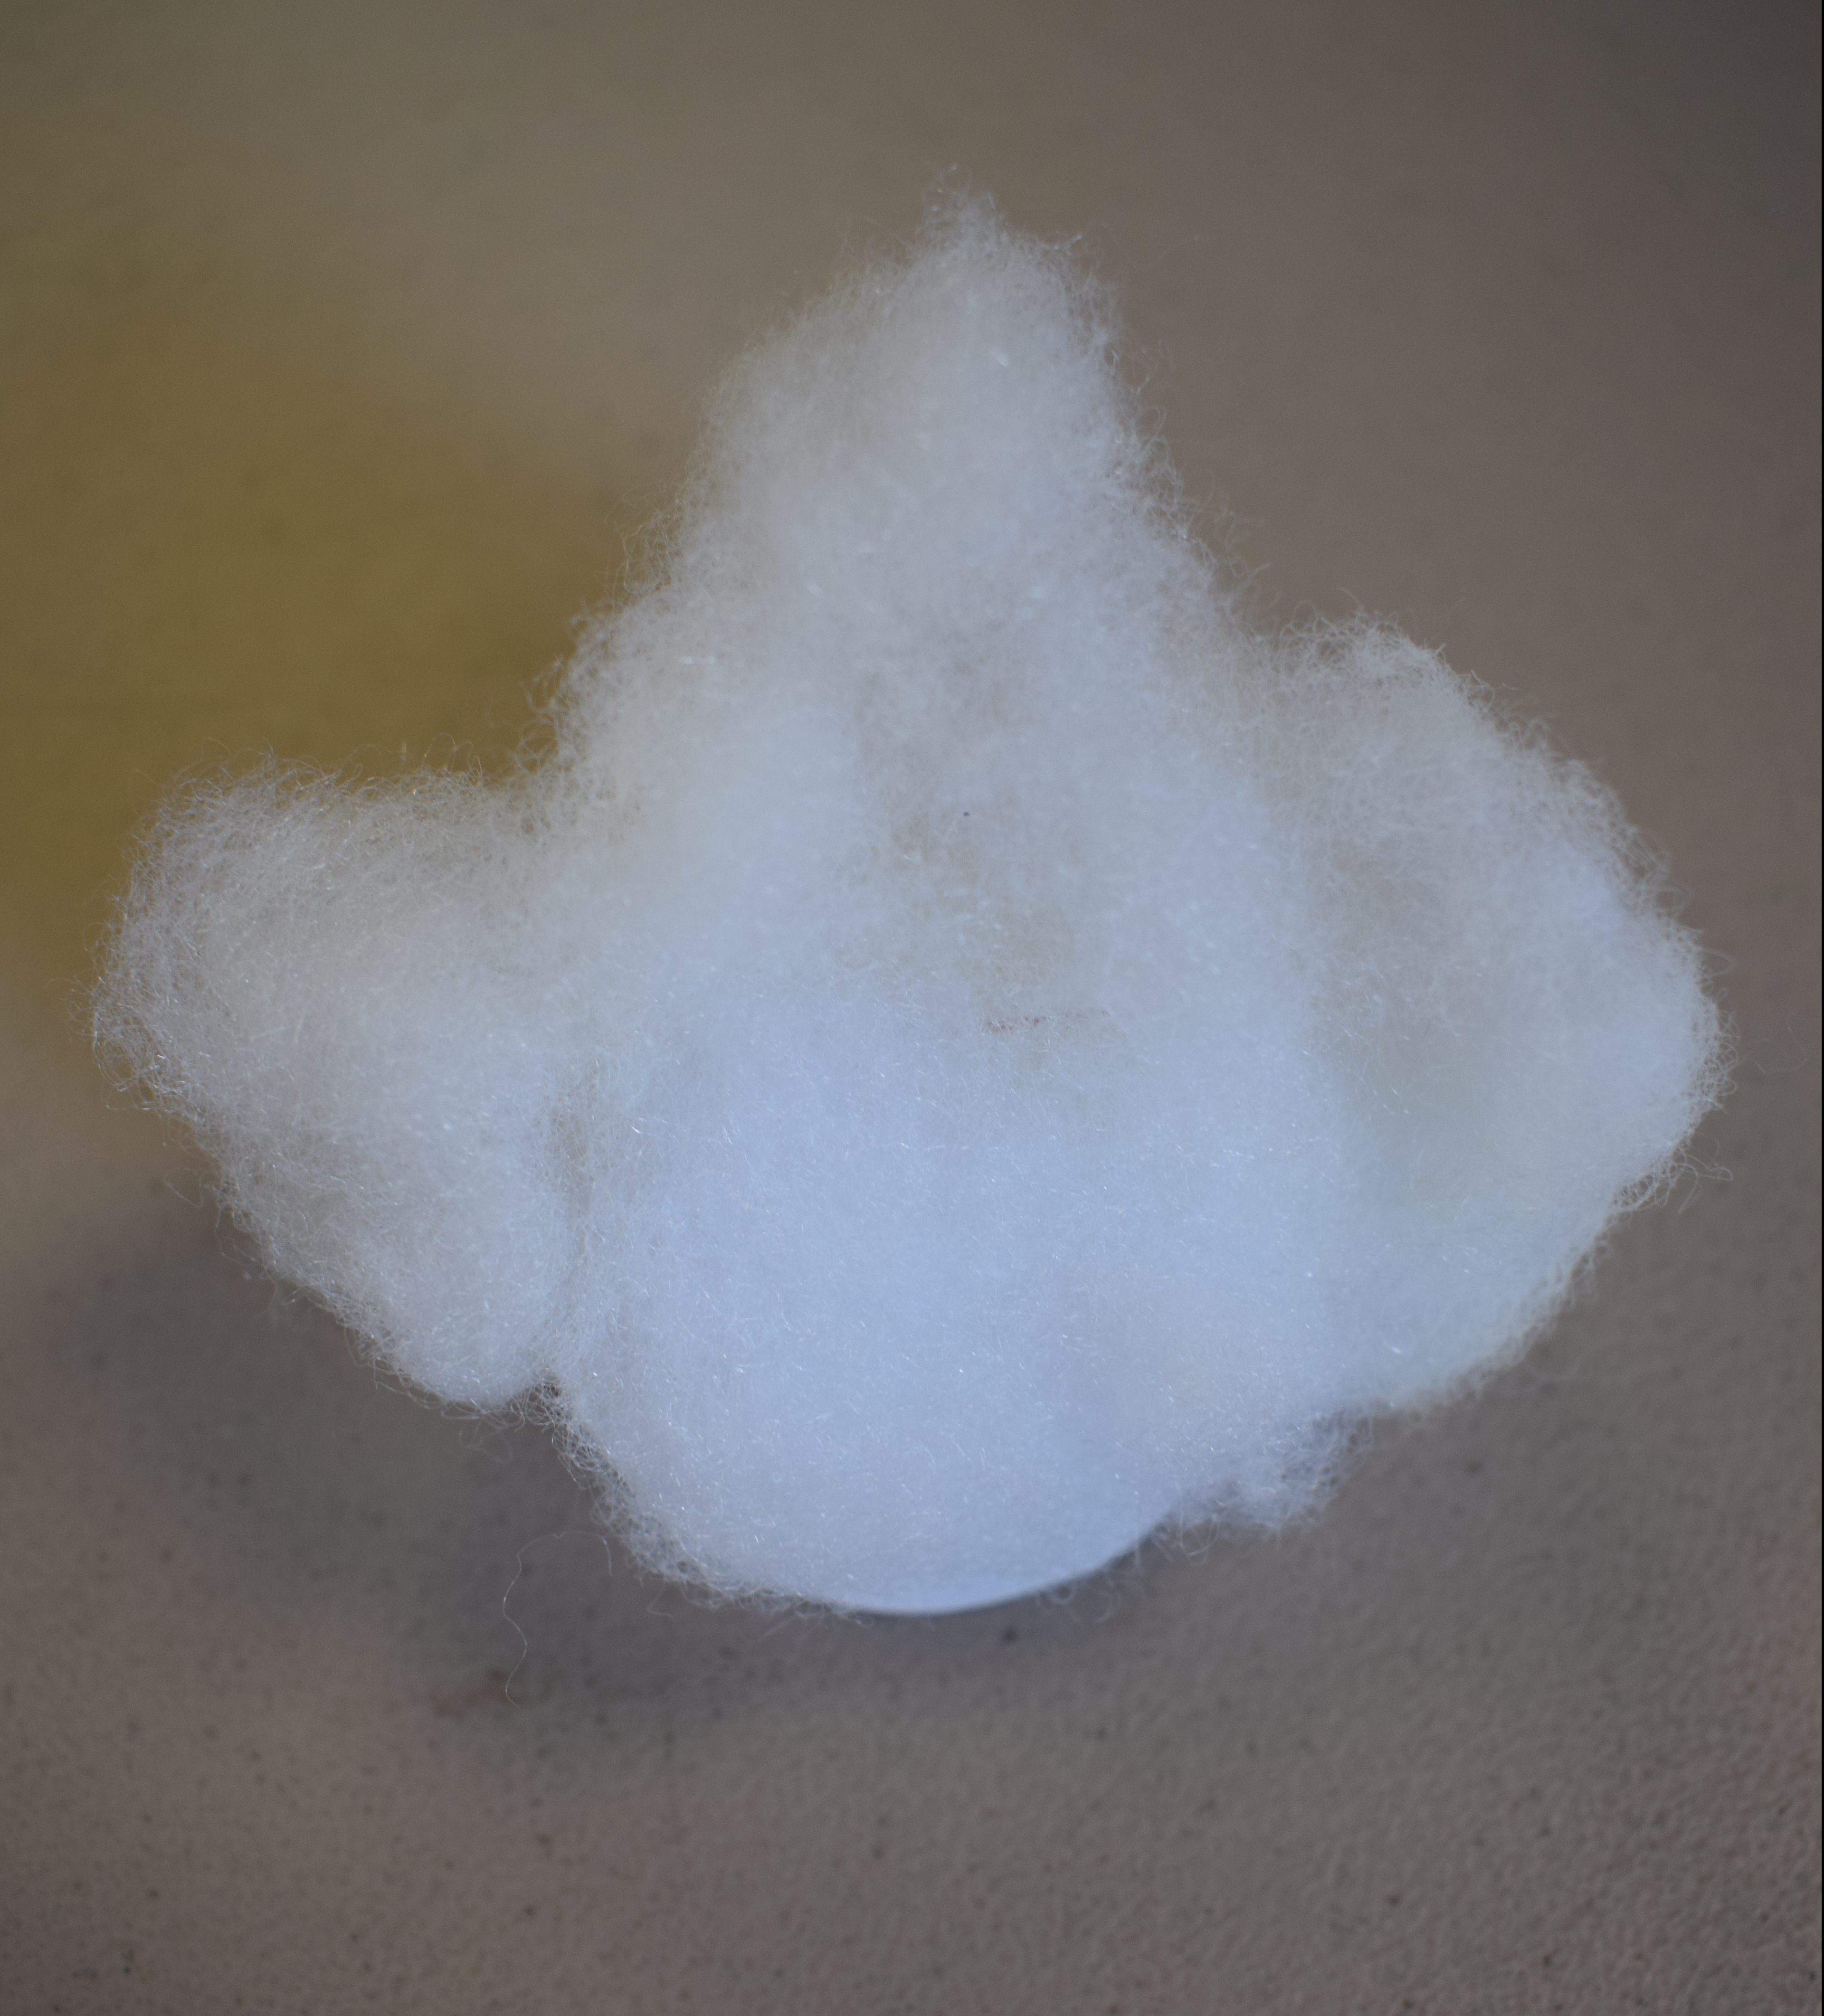
- Use the fiberfill to shape your new spooky friend around the wire.
Step 5
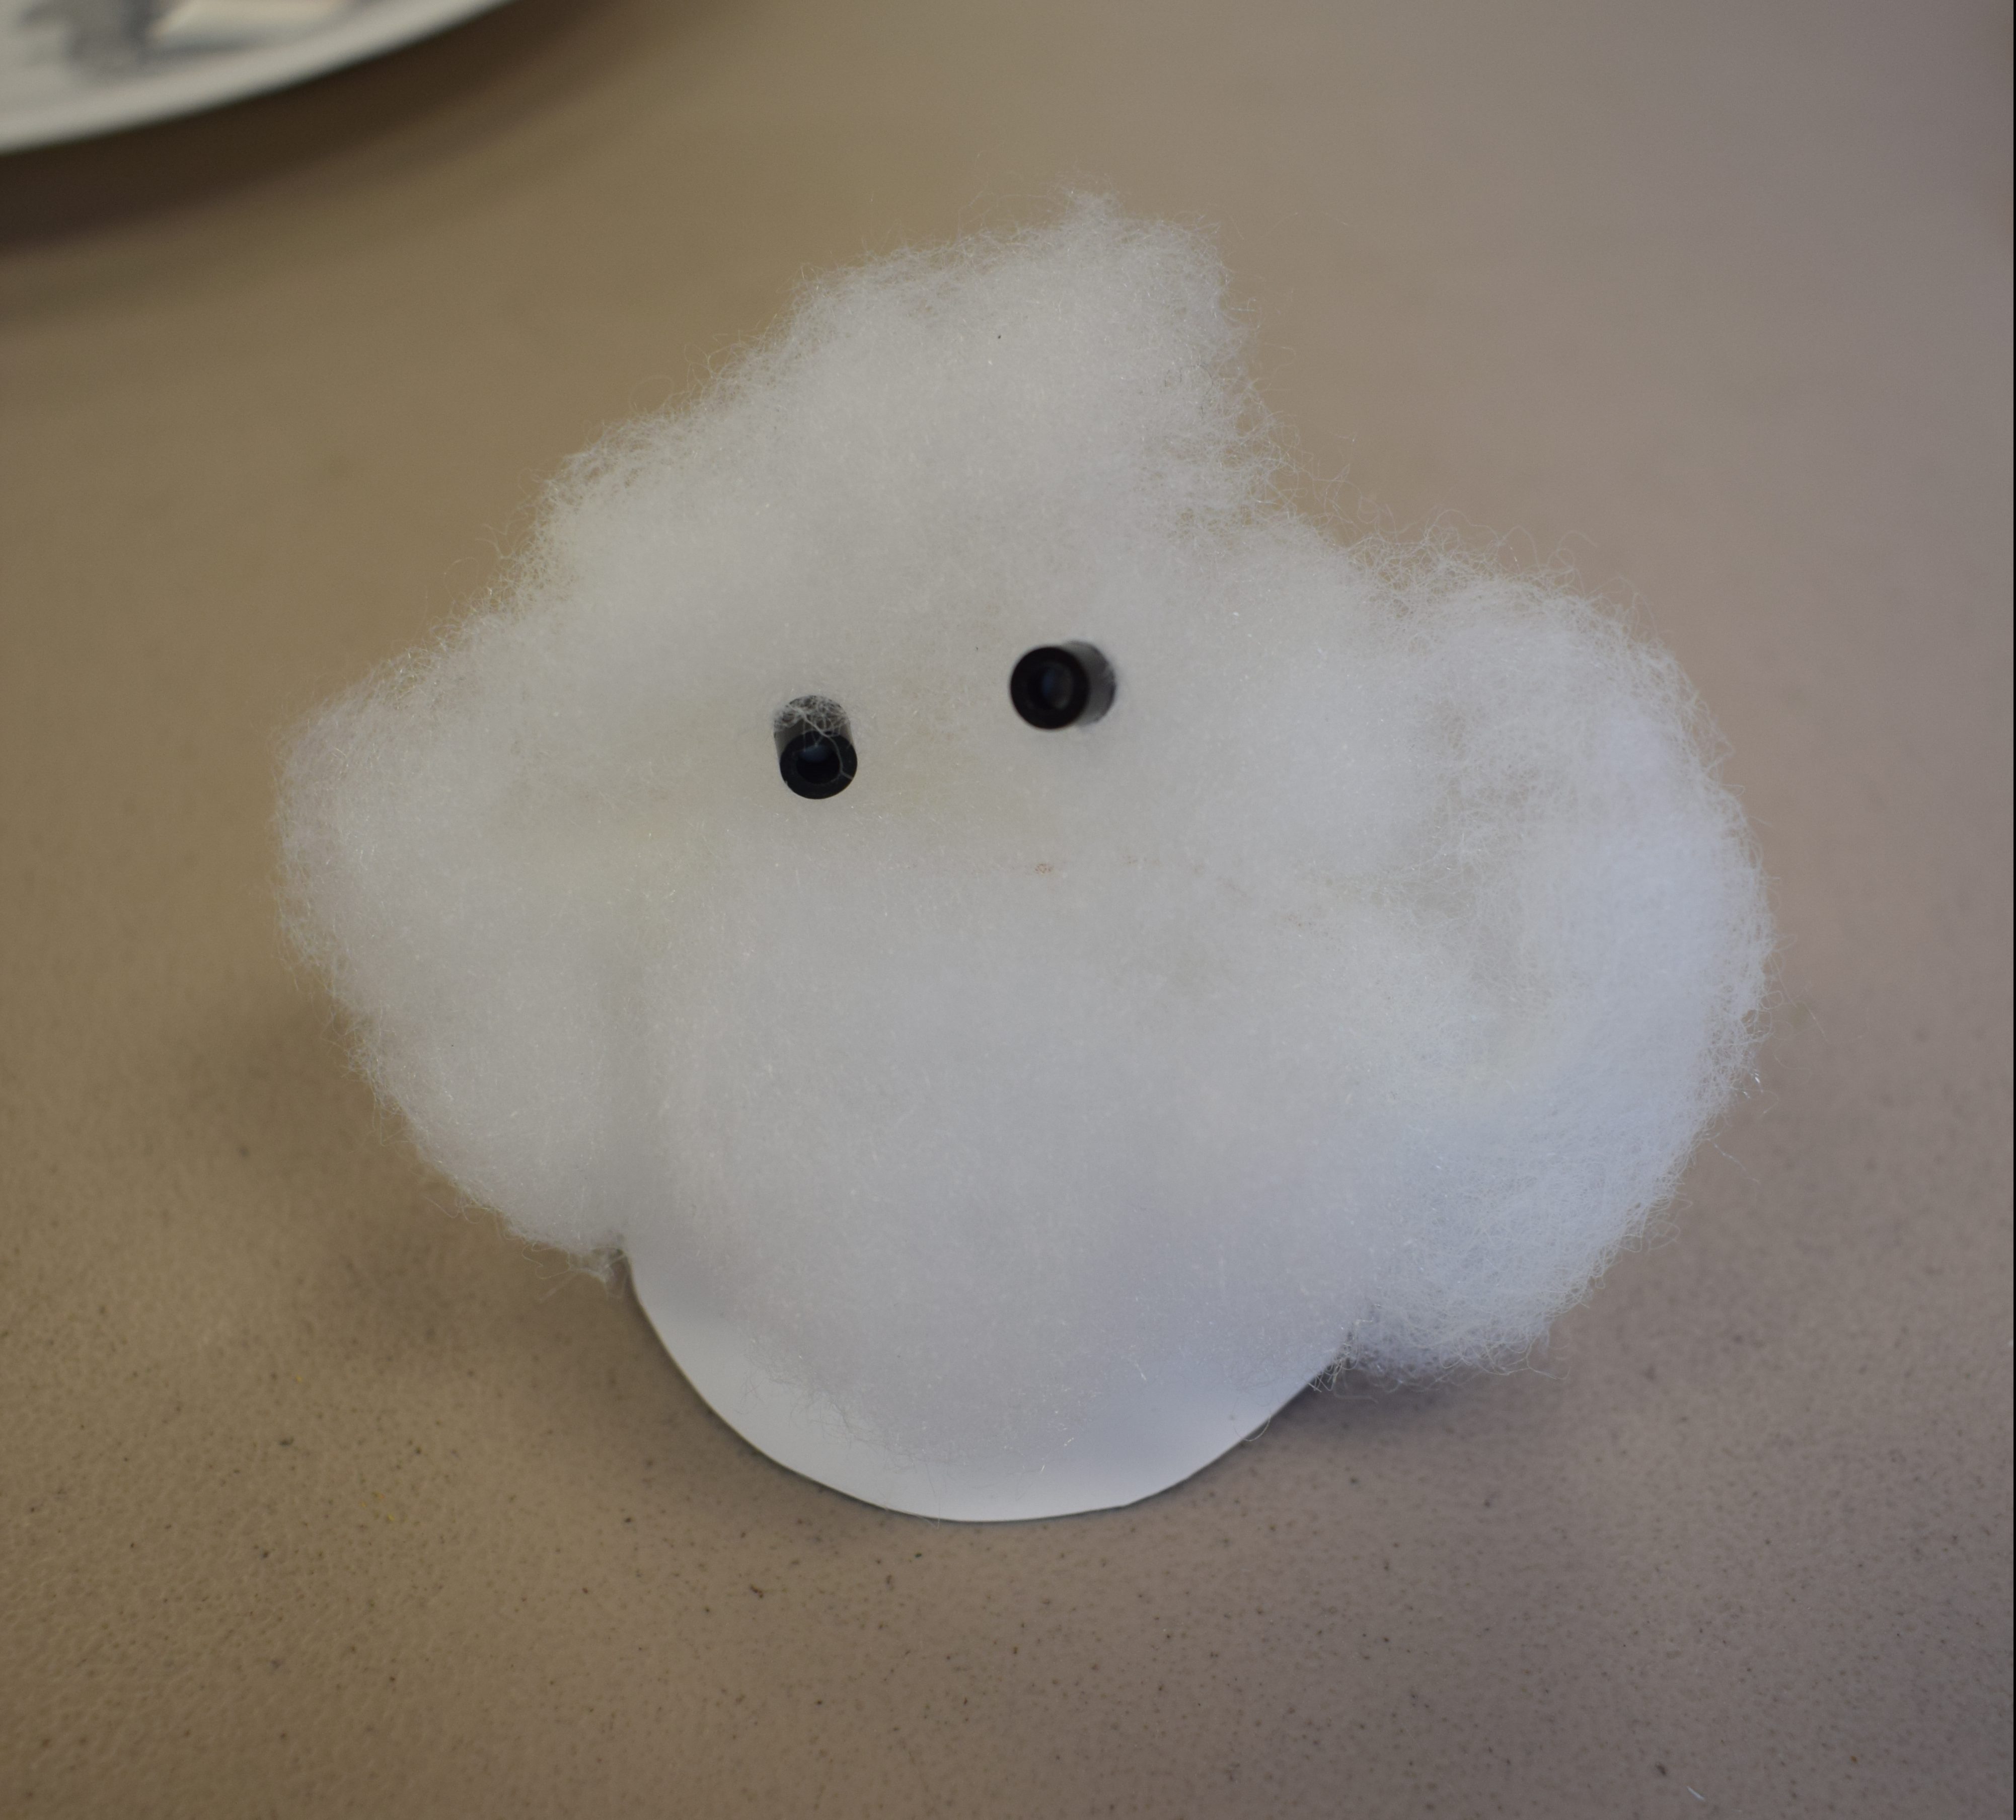
- Use tacky glue to secure the beads to your ghost’s face.
Step 6
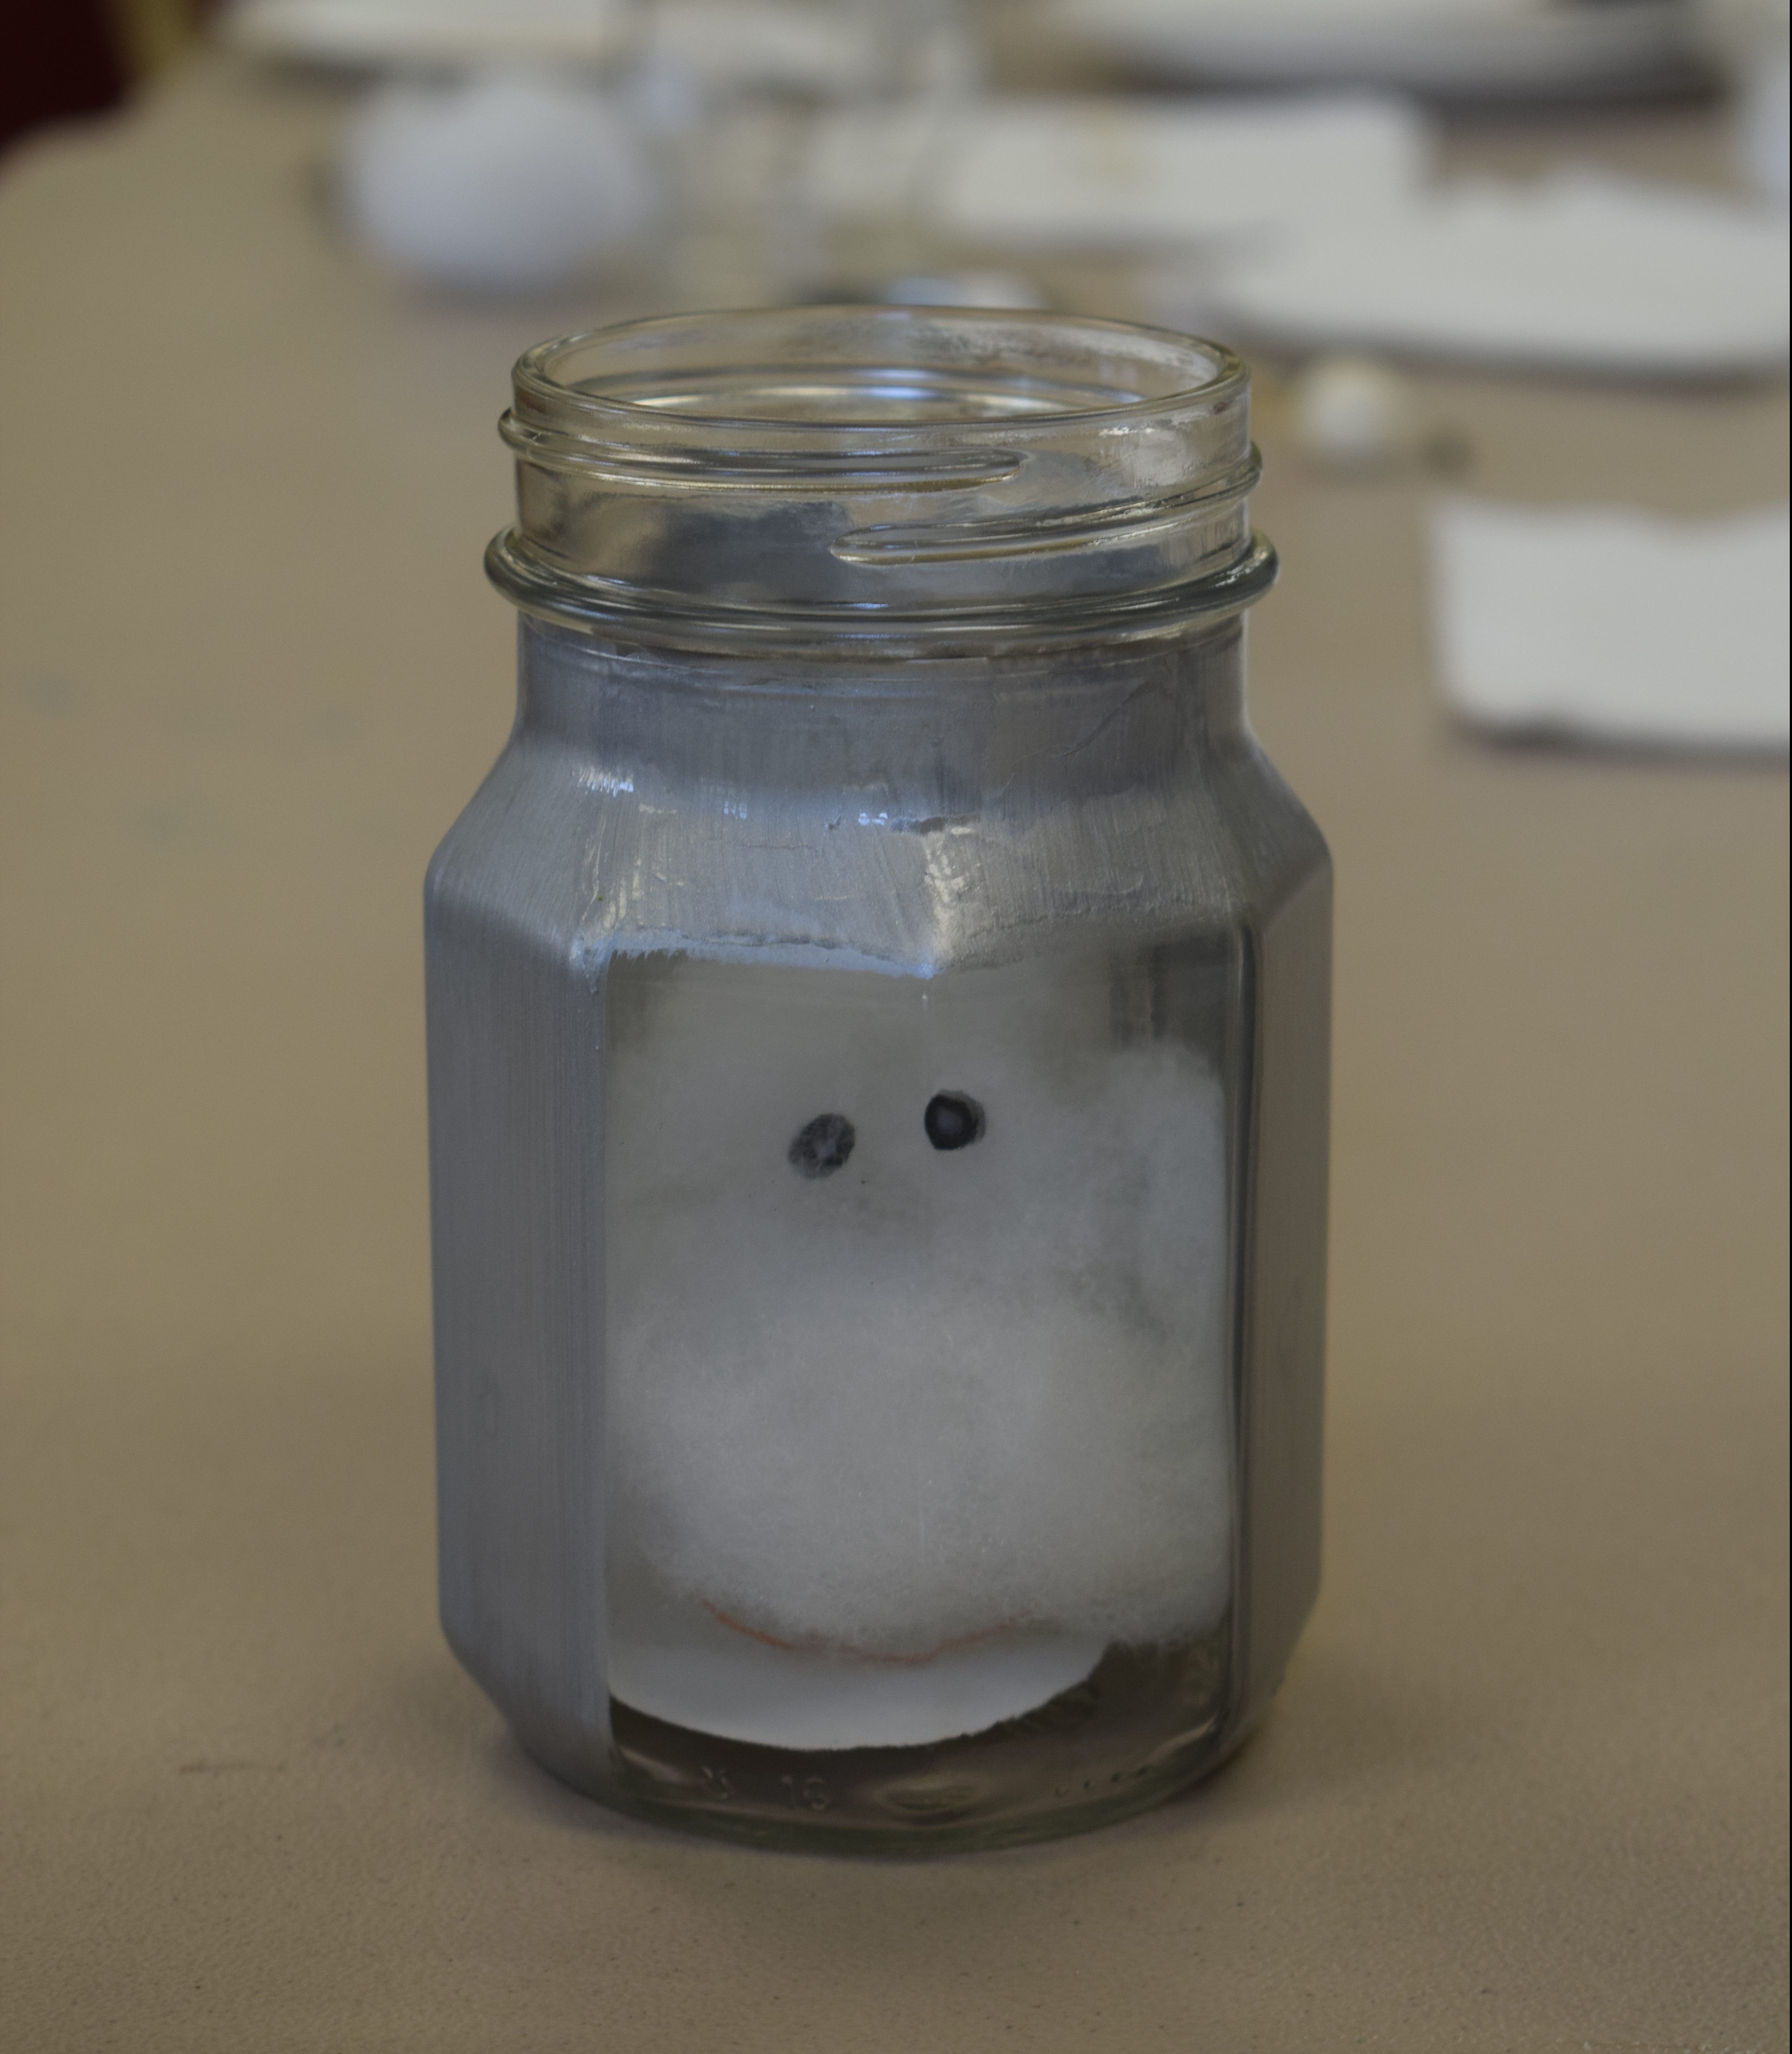
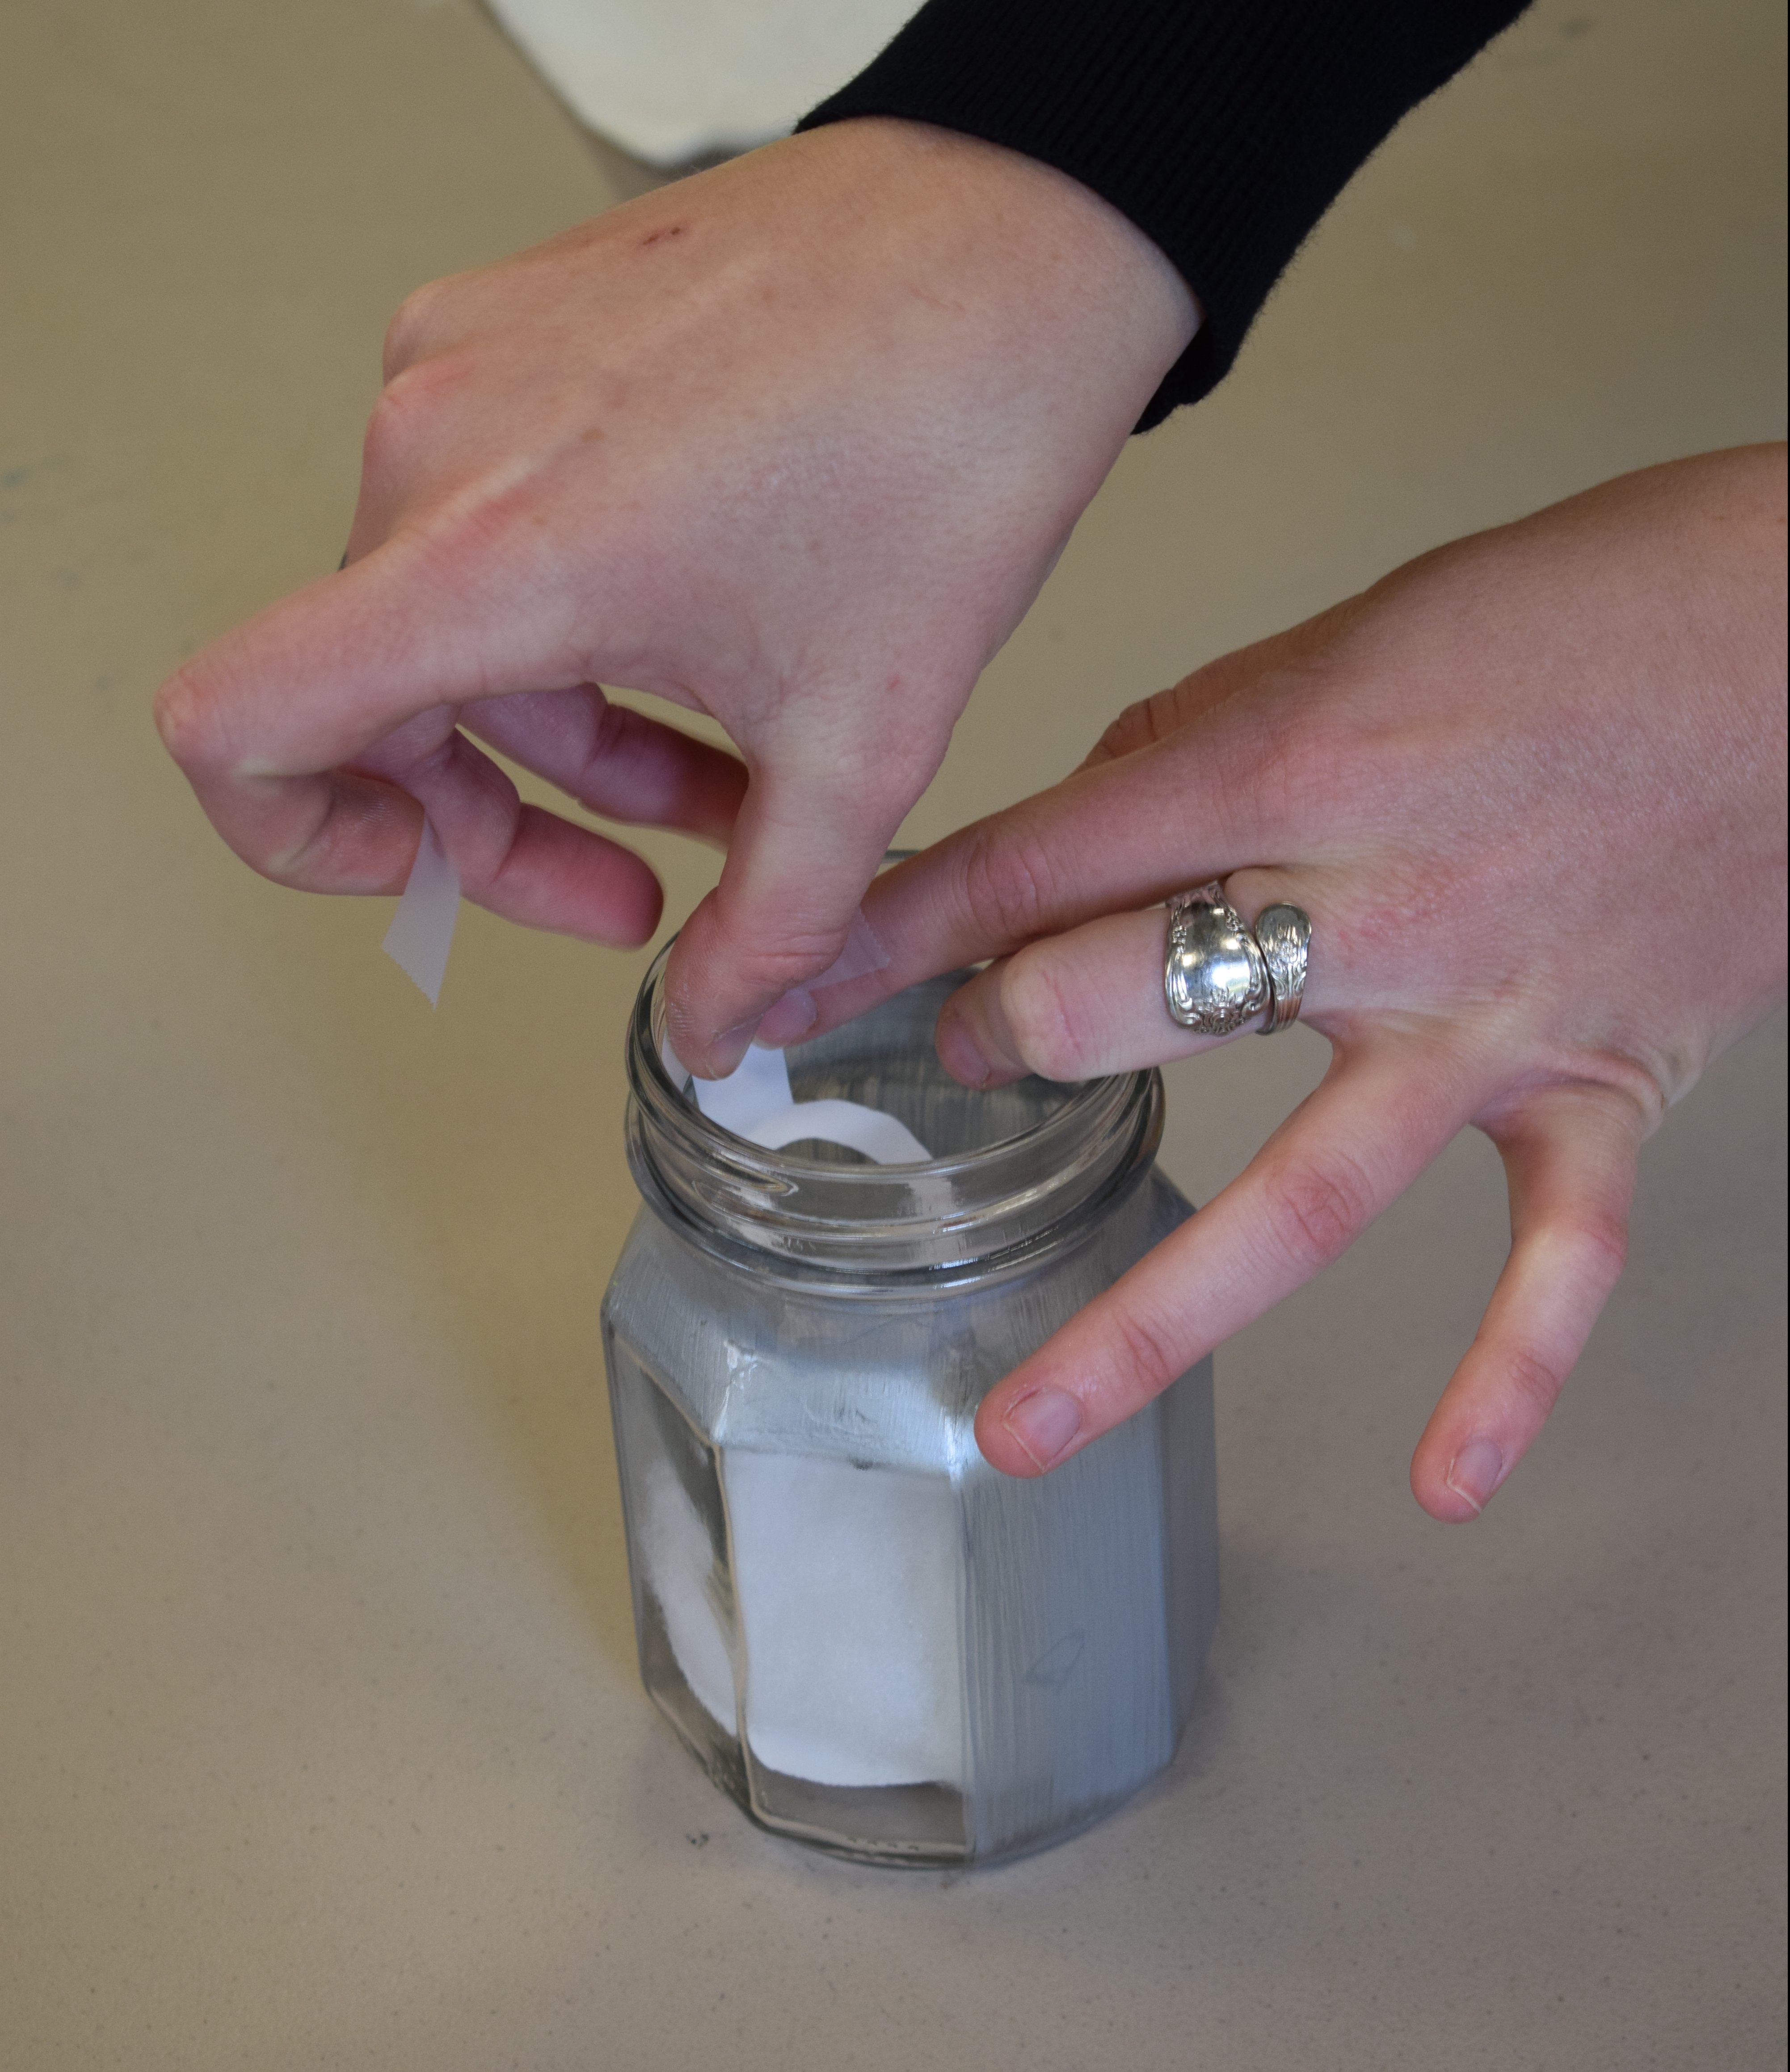
- Place your ghost inside the jar.
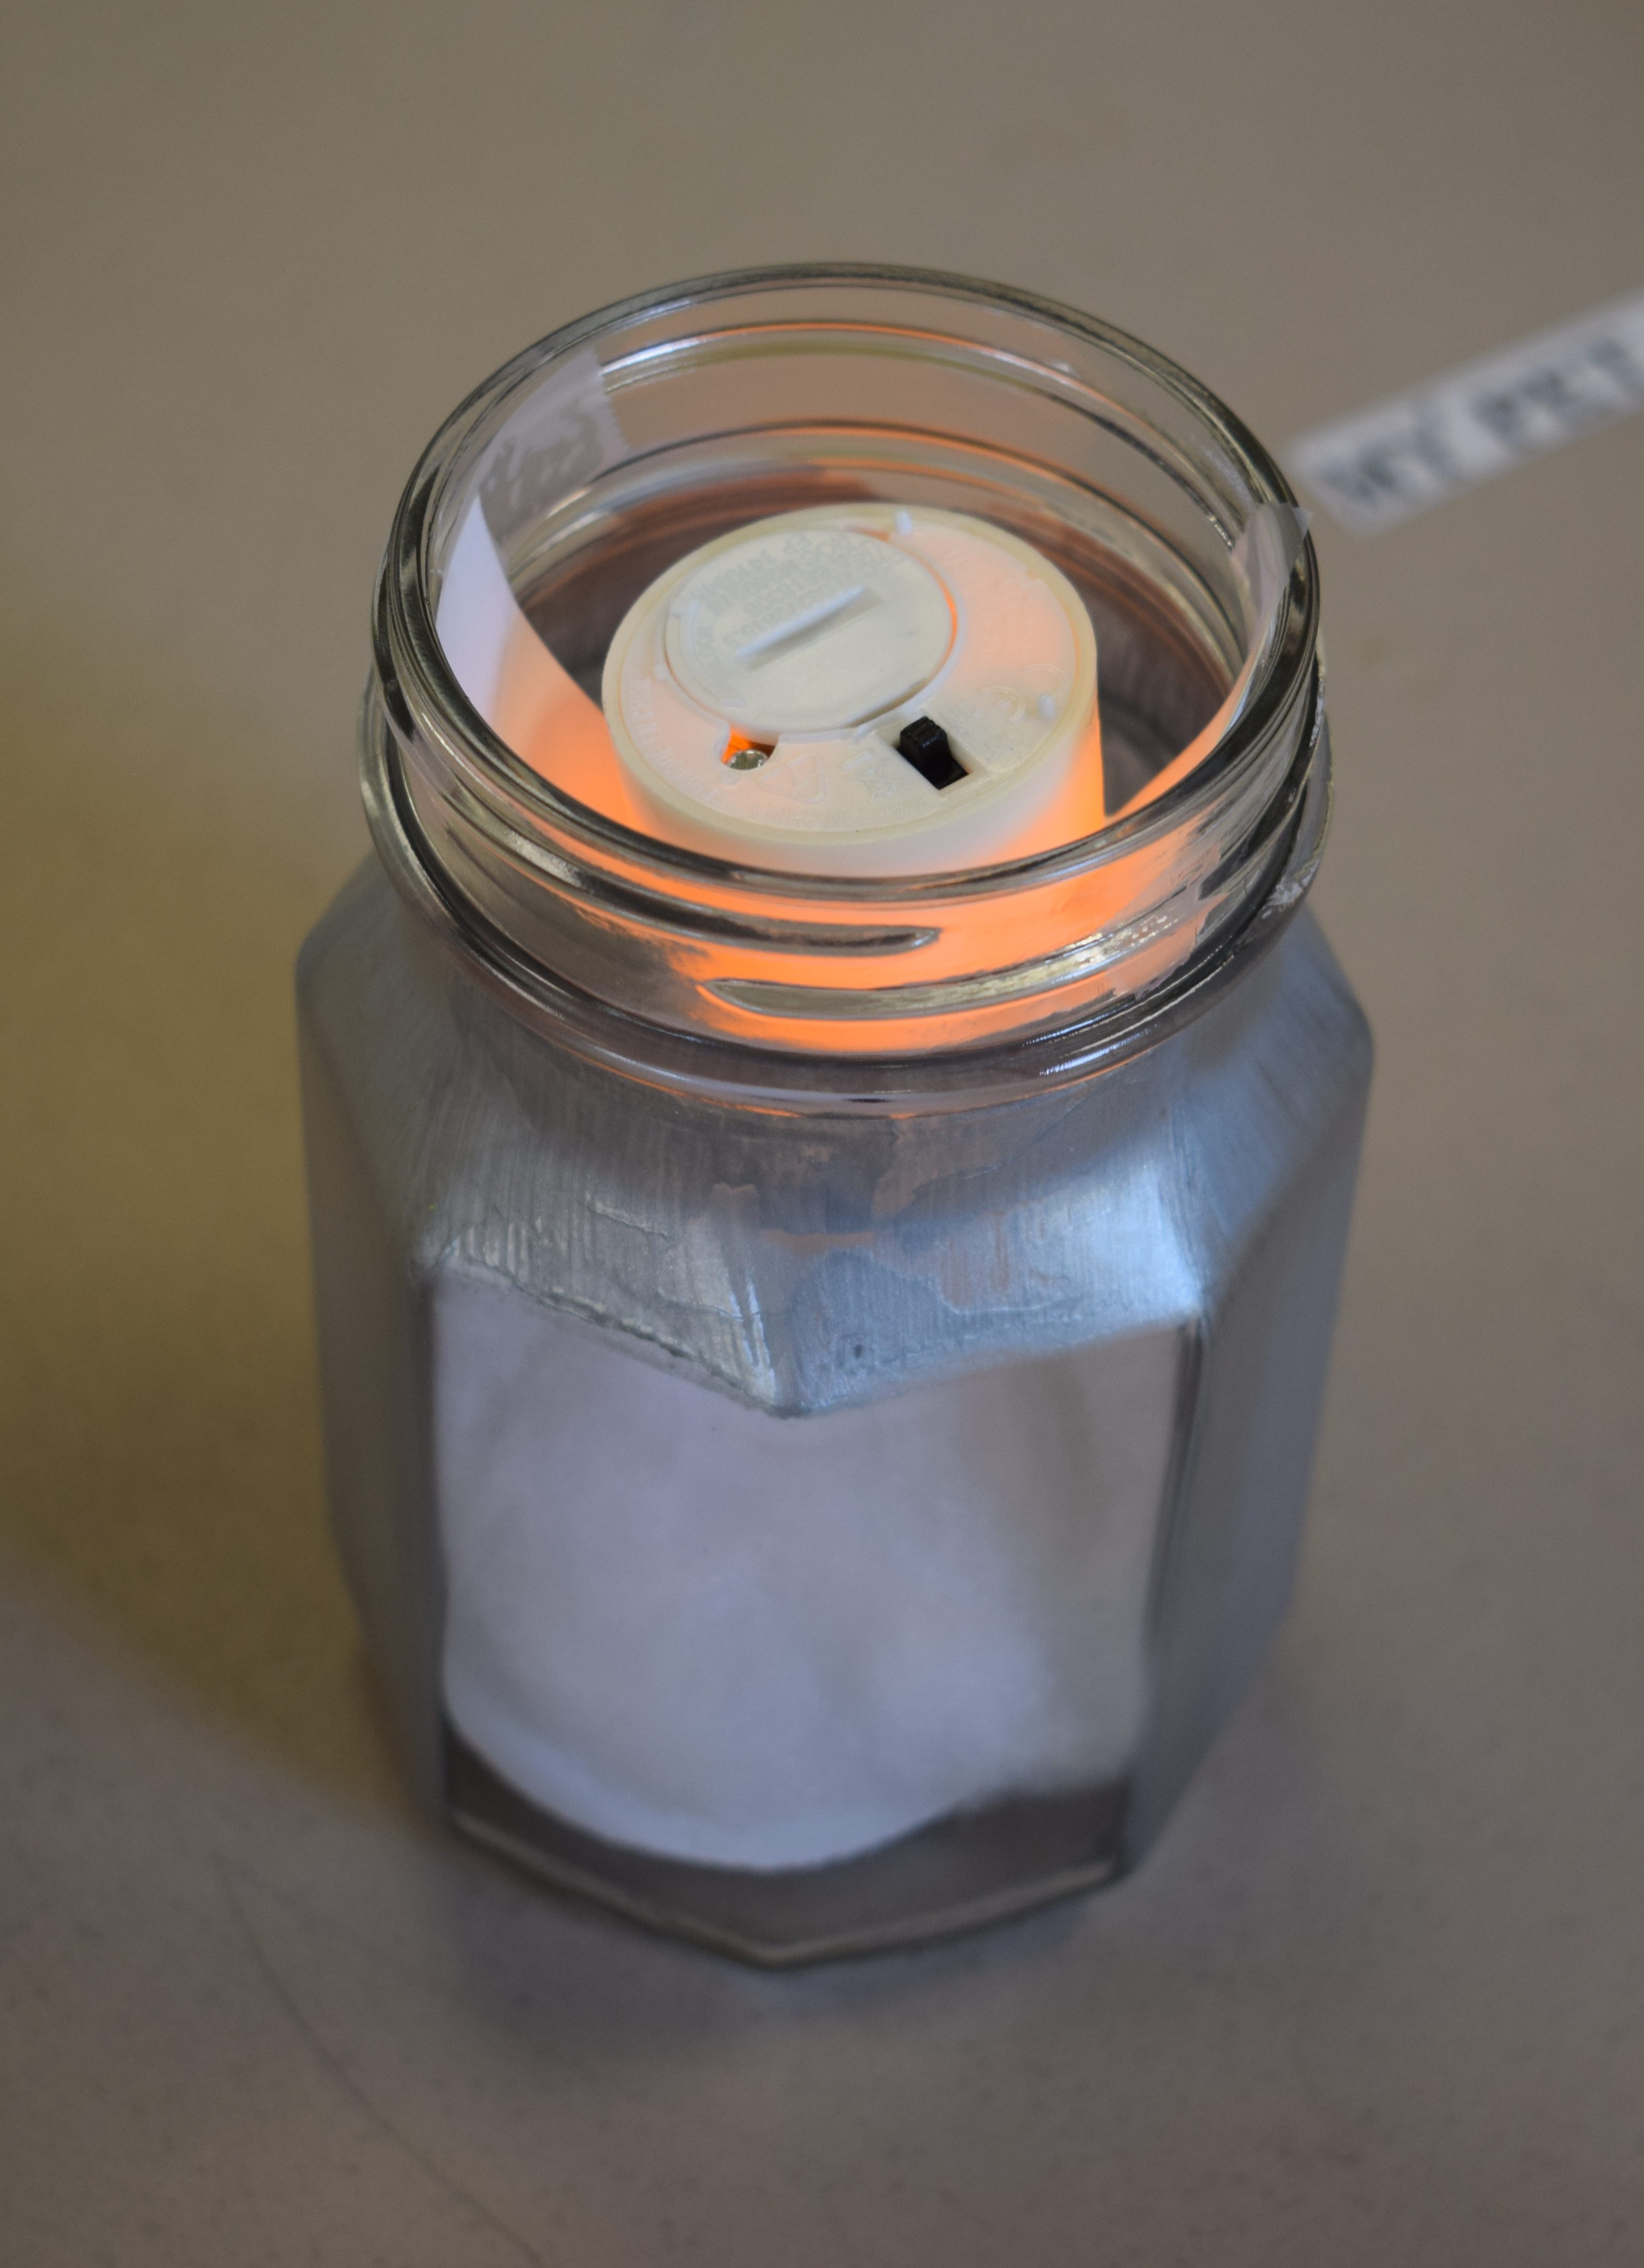
Step 7
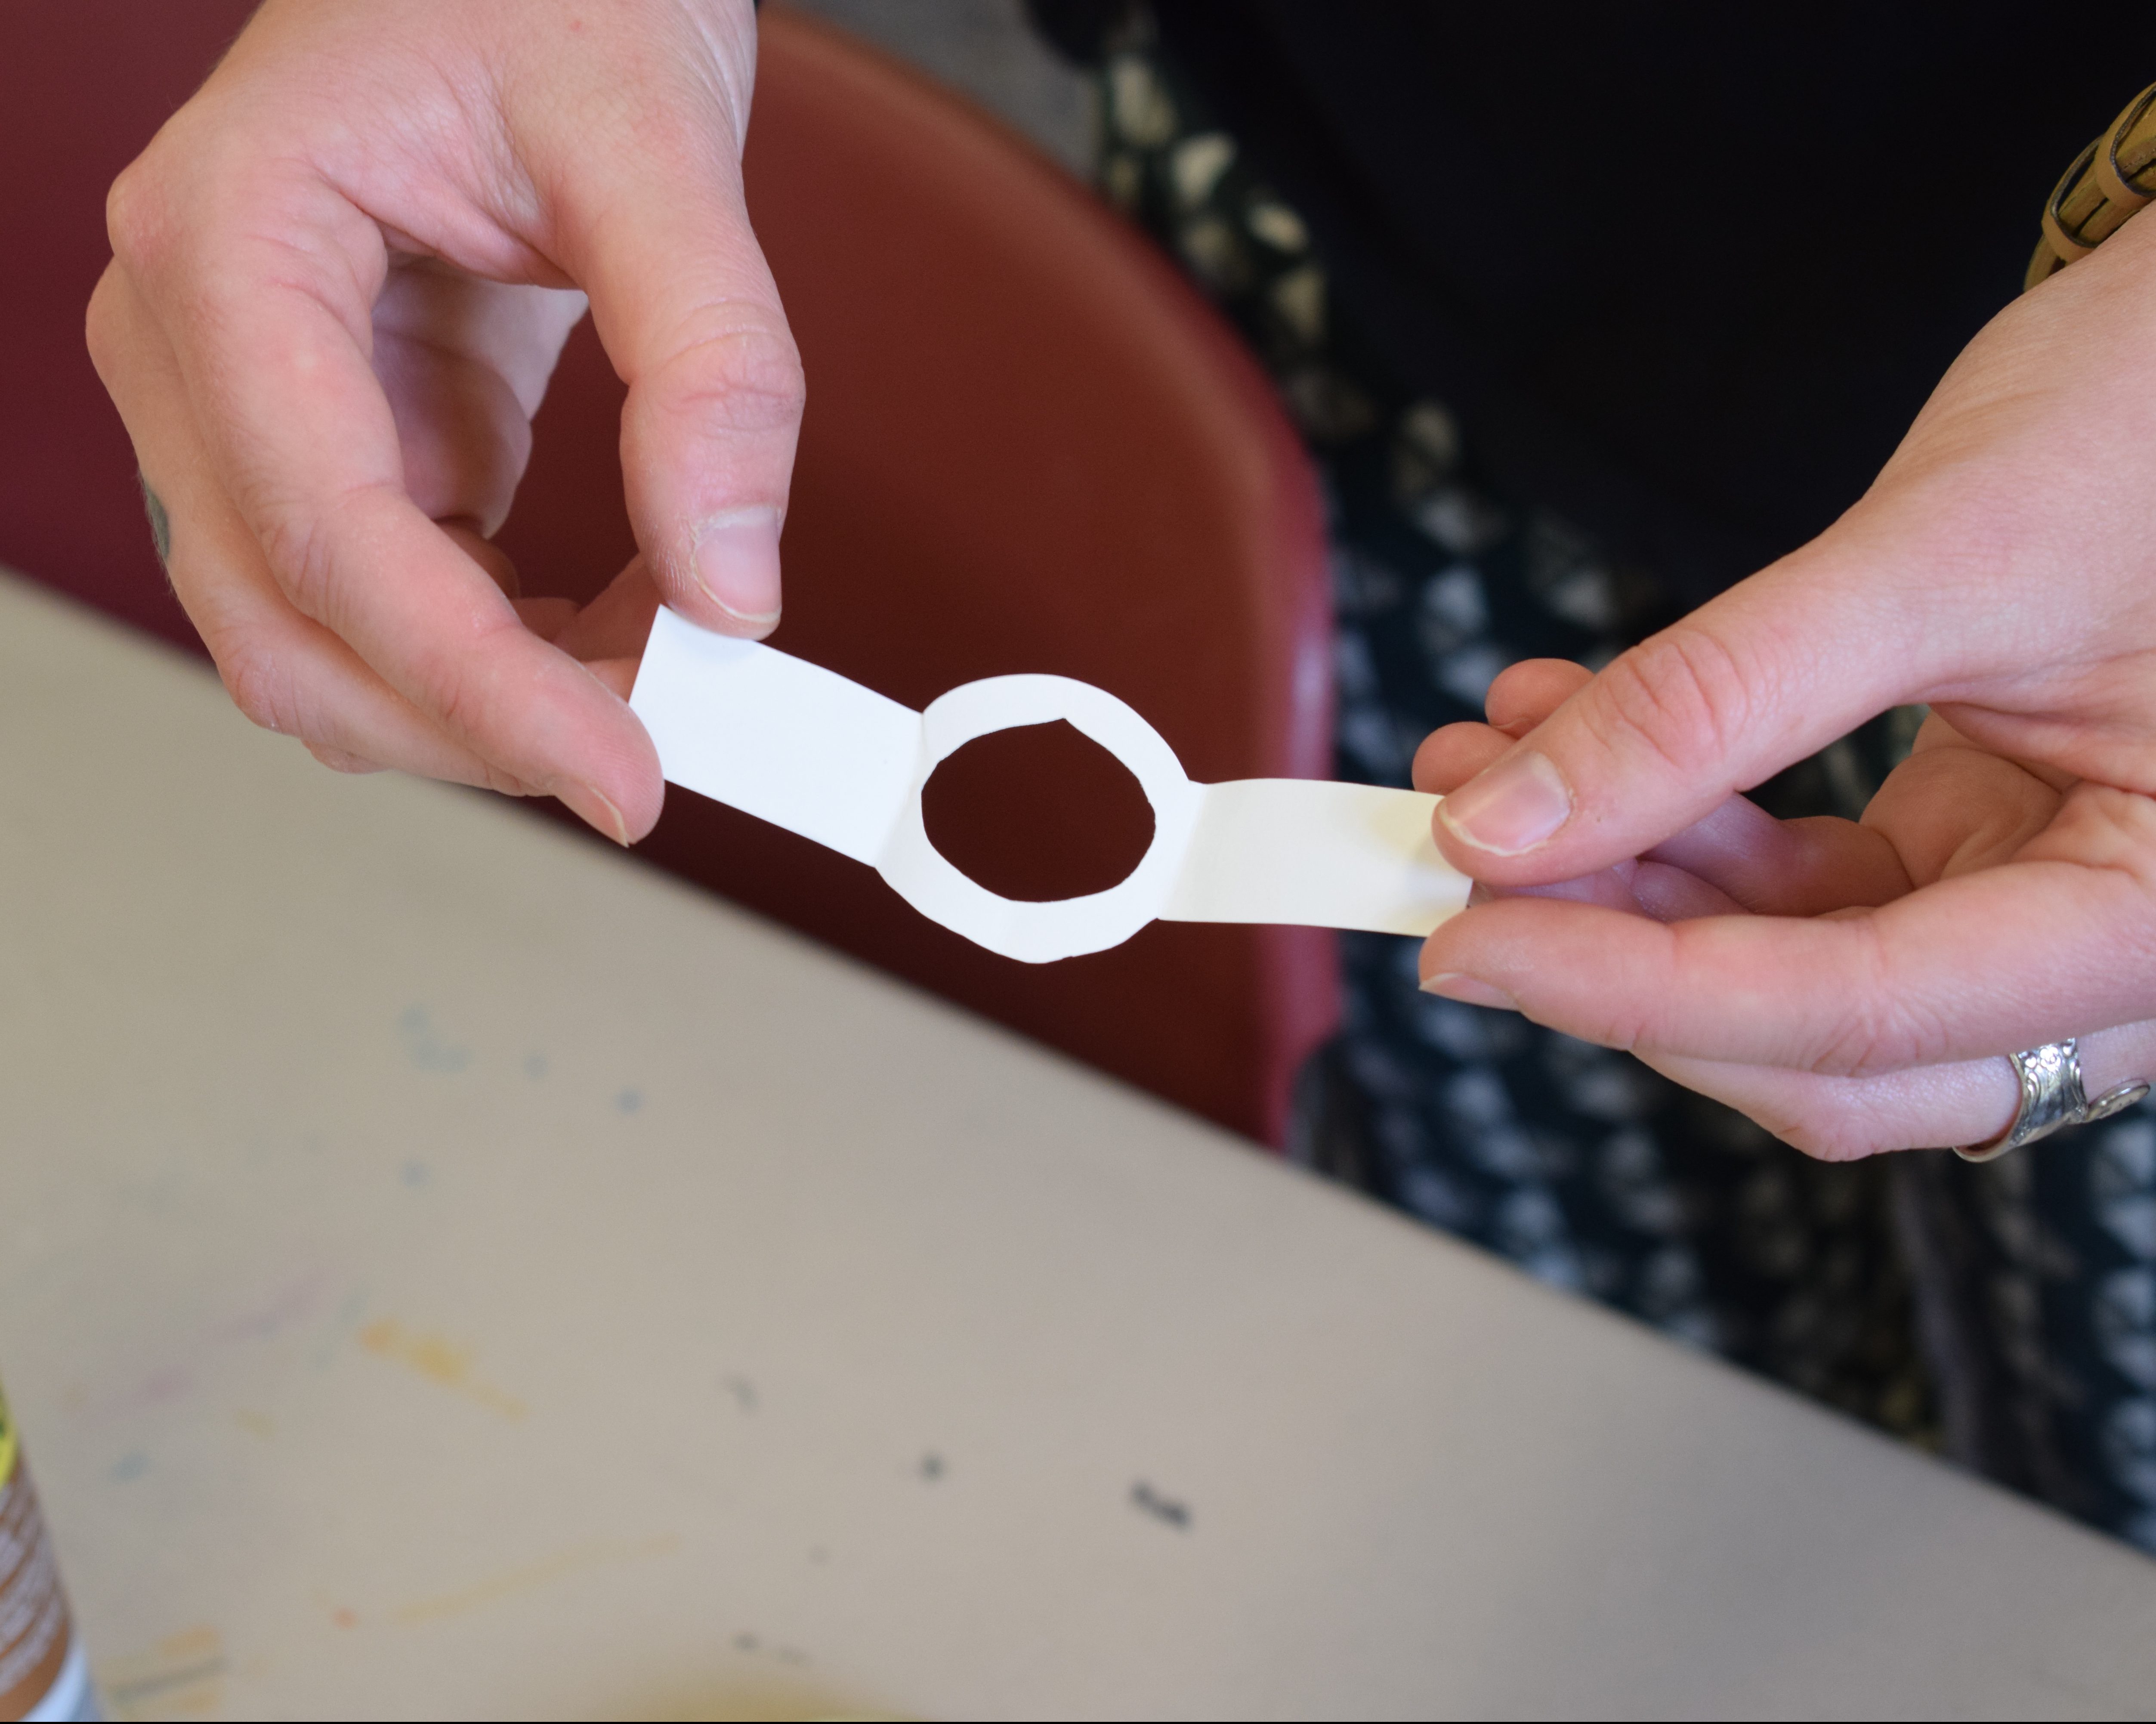
- Using cardstock, create a stand for the LED flameless tealight candle. The stand will be taped to the inside of the jar. Cut a hole through the stand for the light to cast a spooky glow on your ghost. Once the stand is taped to the jar, place the LED flameless tealight candle in the jar upside down.
Step 8
- Print out the design for the top of the jar. Cut out a circle for the jar lid.
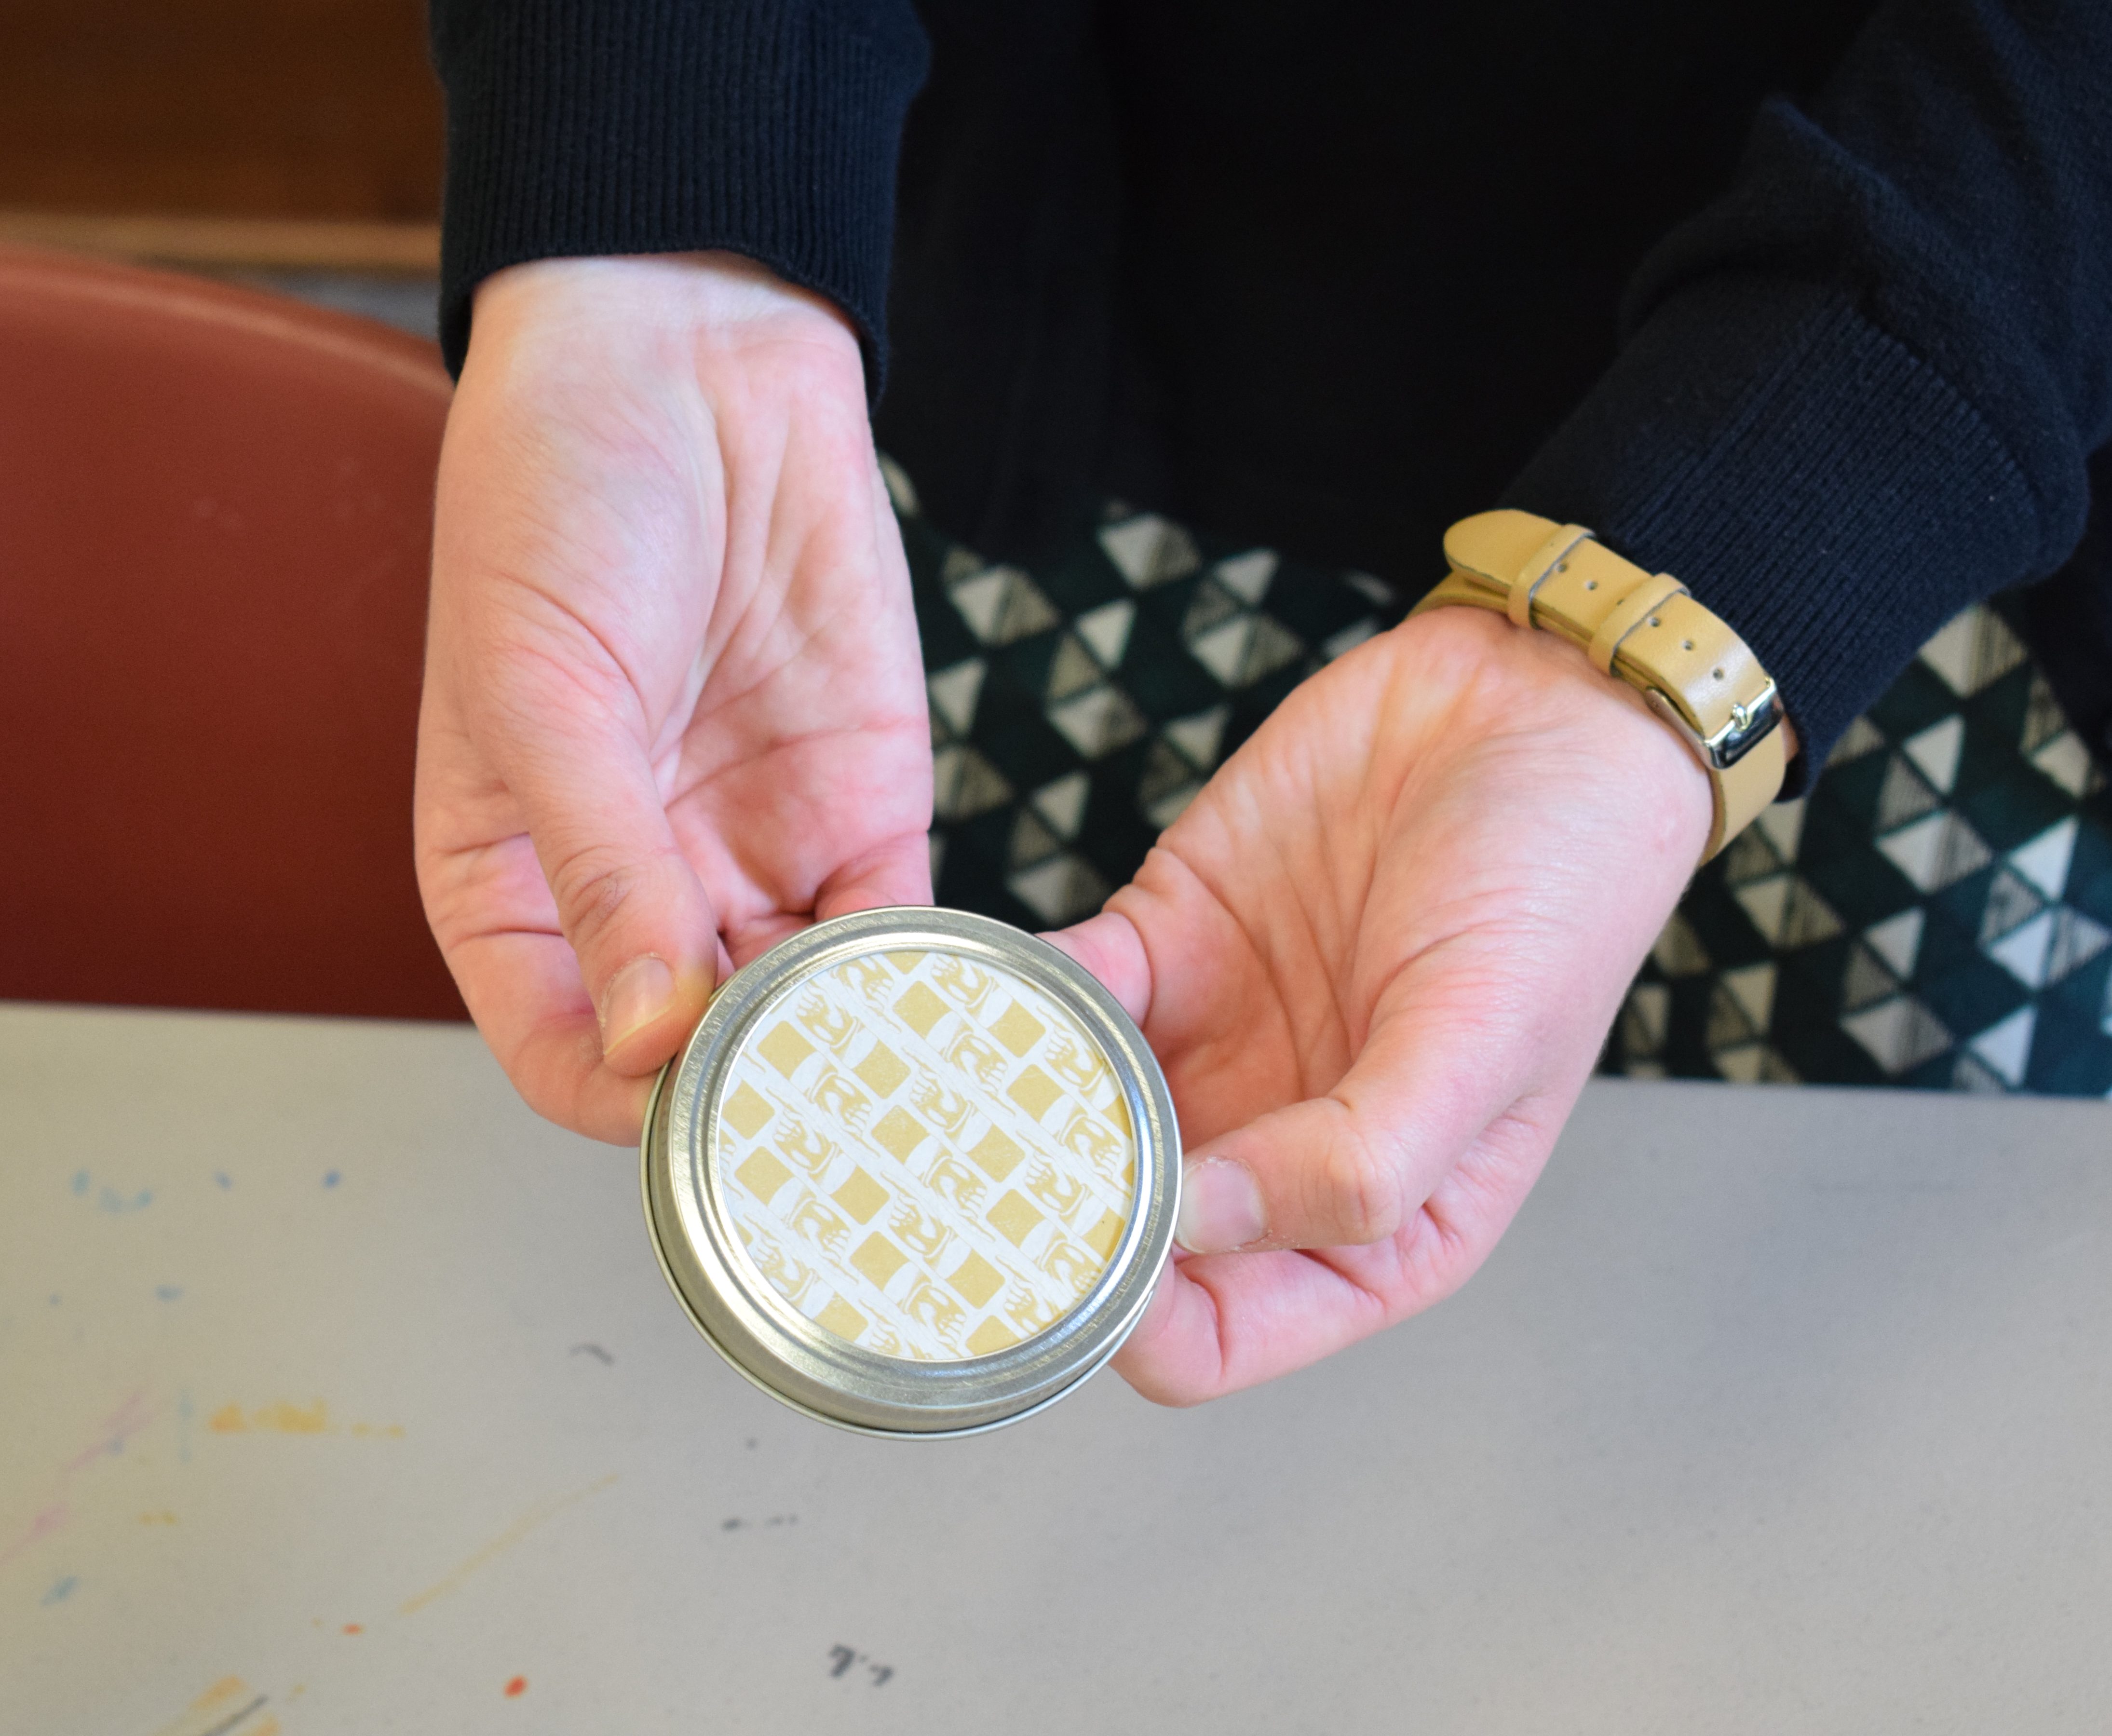
Step 9
- Using the design provided, cut out a hole for your new pet to see through. Tape or glue the design to the front of the jar. Do the same for the label provided.

Step 10
- Glue a small decoration to the top of the jar.
Crafts
Learn about upcoming craft programs by visiting https://www.cc-pl.org/crafts-diy.
More News